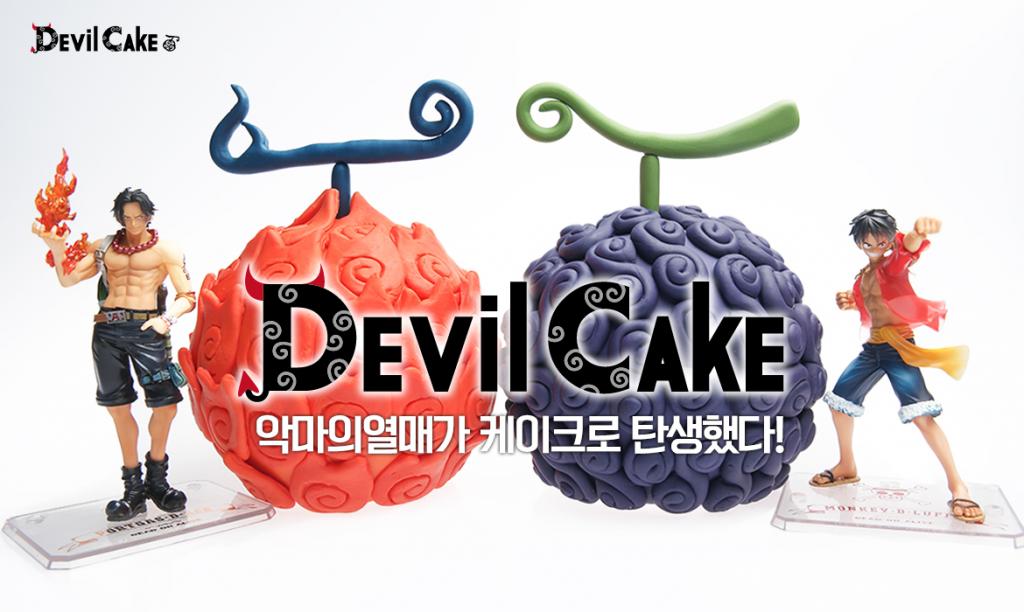
For those of you who are unfamiliar with what exactly this cake is - here's a quick rundown. One Piece is a manga series by Eiichiro Oda that started in 1997, and is still running to this day in Weekly Shonen Jump. It's been collected into eighty volumes at last count and it's still going strong. It follows the adventures of Monkey D Luffy, a 'rubber man', and his pirate crew as they sail the seas in search of the fabled One Piece, the former Pirate King's treasure that he left behind; and in this world, there exist things called 'Devil Fruit' which bestow powers on the person who eats them at the cost of them becoming unable to swim. There are different kinds of 'Devil Fruit' - such as ones that turns the user into animals, ones that give the user the ability to control elements or ones that turns the user into rubber. It's all very interesting and you can read more about the series on Wikipedia, go find all eighty volumes at bookstores or watch the first episode on Crunchyroll here.
 |
| (source) Apt name is apt. |
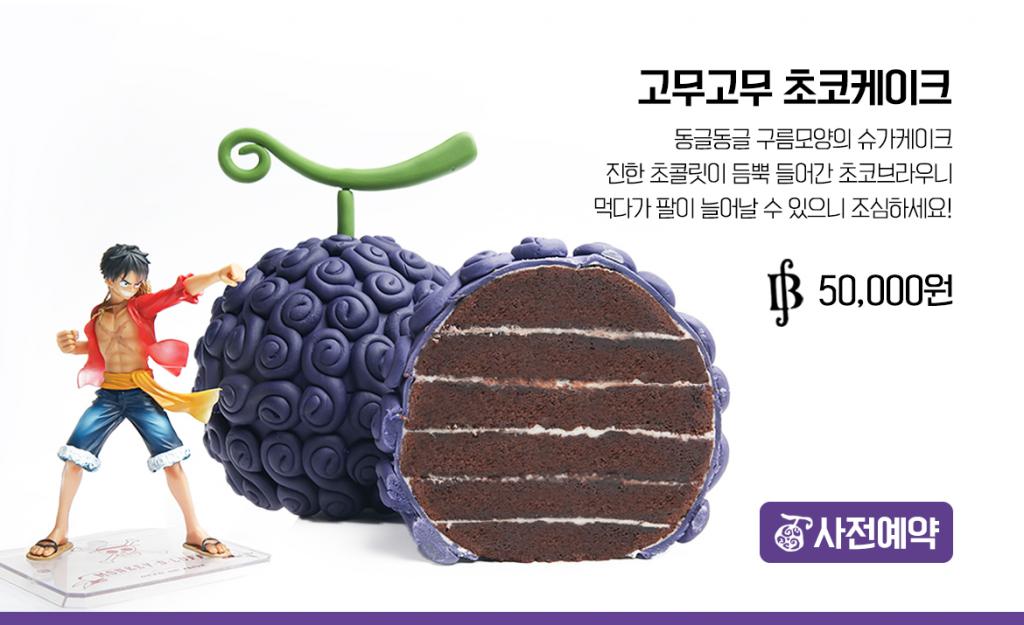 |
| (source) The cake that started it all - Apparently it's layers of brownie cake; the orange one (Mera Mera no Mi) is cheesecake and pound cake. |
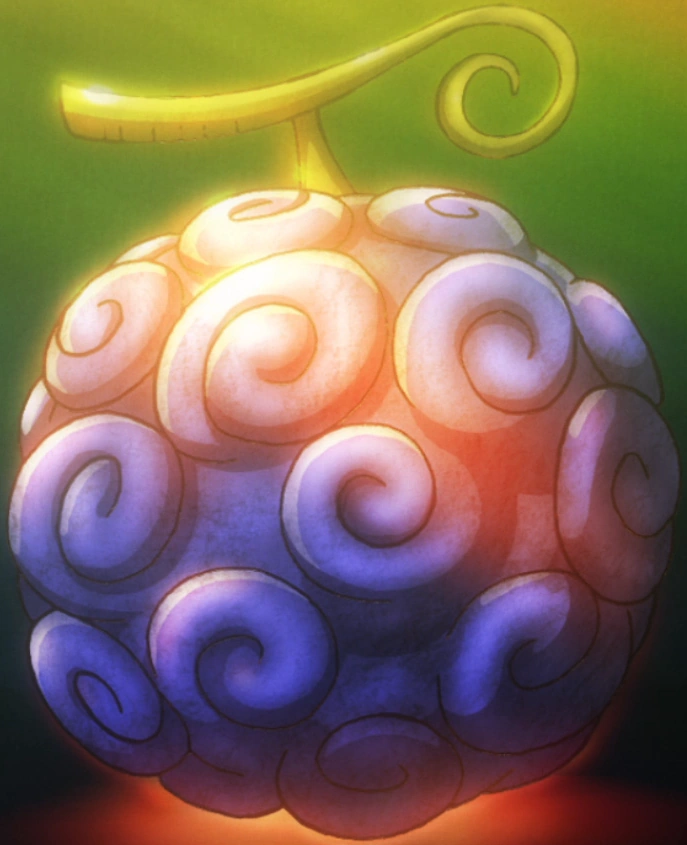 |
| (source) The Gomu Gomu no Mi (or Gum Gum Fruit if, like me, you watched the English version on Cheez TV) |
 |
| The Gomu Gomu no Cake, in all it's glory. While looking up reference pictures for this entry, someone asked me whilst looking at the picture above: 'Isn't that the cake you made?' - One of the best fistpump moments I've ever had. |
This whole thing was first inspired by an article I saw on Kotaku here about these cakes being available in Korea for a limited run; and I'm a sucker for combinations of some of my favourite things (seen here as anime and baked goods) so my curiousity was piqued. Looking at the pictures, I ran into my first (of many) hurdles. Fondant. It's not that I don't like fondant, per se, but if I can avoid it, I will. I acknowledge that there are many things you can do with fondant that just aren't possible with other icings but I still can't bring myself to cover perfectly good cake with it. Quite possibly, I've just never had good fondant. Which, led me to my second problem - sweetness.
My icing of choice for something like this where I needed to be able to pipe it was buttercream which is basically icing sugar and butter and flavouring. That's it; and for a cake of this size, having to eat that much buttercream in one go would get sickly pretty quickly. In hindsight, cream cheese icing would probably be a good alternative for the outer swirls (maybe I can make the Mera Mera no Mi out of red velvet cake next...hmm); which led me to my third problem - flavours.
The original cake is apparently layers of brownie cake; and that, to me, when coupled with the sweetness of the buttercream, would turn into a mess of sugar. Which although not neccessarily a bad thing was not what I was after.Some of the highlights of my thought process were 'lemon and rosemary cake and earl grey buttercream' and 'coffee and blackberry and whiped cream filling' but I decided to keep it simple, at least for a first attempt, and I went with a coffee flavoured sponge and a chocolate sponge in the hopes that the bitterness of the coffee would balance the sweetness of the sugar. To try and make it more palatable, I decided to go with a coffee buttercream for the inner layers and the outer swirls was a vanilla buttercream. All in all, wasn't bad - was still very sweet but the coffee aftertaste helped.
Once that was all sorted out, the fourth problem reared its ugly head. How do you make a spherical cake without a spherical cake tin? This was the question I asked myself (and Google) and the first, brilliant solution was 'Make two half-sphere cakes, then sandwich together,' on the off chance you have a hemispherical cake tin lying around. I am not one of those people. Looking at the original cake, you can see they've done it in layers so I decided to do something similar. I decided on concentric circles that, once stacked, would magically form a ball shape and got to work. Stand back, we're going to try maths!
 |
| Maths. |
 |
| Does anyone remember that tongue twister about making bitter batter better with better butter? |
 |
| Make sure you have enough cake for the circle with the biggest circumference! |
 |
| Looked good when it was all separate but... |
 |
| "Are you making a honeypot cake?" |
 |
| Disappointingly enough, the crumb coat did not magically turn it into a perfect sphere |
 |
| After carving, it looked so much better - just use a sharp knife and whittle that cake! |
Once it's ball-like enough for you, crumb coat with purple icing then in the fridge it goes; then once that's set, you can apply a thicker layer and then it's on to the fun part. Now, I'm a fan of buying things only they're absolutely, positively neccessary and piping bags fall squarely into that category because I figure I can use a ziplock or freezer bag to the same effect more-or-less. However, last Christmas I was blessed with the gift of disposable piping bags, so I decided to treat myself and use one. Straight away, it was a lot easier to pipe but I think I made the hole a bit too big and my swirls didn't turn out quite as planned. So back to the freezer bag I went, and although slightly more cumbersome to hold, I got a better result. Moral of the story - practice does make perfect.
Once you're satisfied with how it looks, pop it back in the fridge and you can get working on the stem. I definitely remembered the stalk being green but didn't feel up to experimenting with food colouring and white chocolate. Fun fact, did you know you can buy pre-coloured icing/chocolate in tubes - and they have flavours? Mind blown that day in the baking aisle. Of course, I didn't have those on me at the time so I went with dark chocolate; and this is where my perfectionist streak metaphorically gut-punched me. The first time I did the stalk, I was pretty happy until I nudged it accidentally in transit to the fridge. Easily fixed, a bit of scraping and I ended up with a far thicker stalk than intended. Third time's the charm, as they say.
Only, not quite so in this case. I took it out of the fridge a few minutes later, only to see that the chocolate had spread out. Maybe it'll look okay when I stick it into the cake, I thought.
It didn't. I spent a good minute looking at it and thinking 'That looks okay,' but, well, the picture doesn't lie. Fourth time lucky! I melted it down and tried again, and failed again.
 |
| Triple batch of icing, ready to go! |
 |
| The crumb coat enables a really clean second layer. |
 |
| Primary school flashback to space dioramas. Mine was on Mars. |
 |
| Swirls upon swirls upon swirls. |
 |
| Yeah, looks just as bad as I remember it looking |
 |
| Slices just like a rockmelon. Now, who's up for a swim? |
Gomu Gomu no Cake
Makes 1 cake roughly 13cm in diameterWHAT YOU'LL NEED
COFFEE CAKE
- 225g caster sugar
- 225g butter
- 1C plain flour
- 4tsp instant coffee powder dissolved in 1 Tbs hot water
- 2 1/2 tsp baking powder
- 1/2 tsp bicarb soda
- 4 eggs
- 1-2 Tbs milk
CHOCOLATE CAKE
- 1C caster sugar
- 185mL milk
- 125g butter
- 50g cocoa powder
- pinch of salt
- 1/4tsp bicarb soda
- 150g self raising flour
- 2 Tbs plain flour
- 3 eggs
COFEE ICING
- 2C icing sugar
- 180g butter
- 2-3 tsp instant coffee dissolved in 1 Tbs hot water (depending on how strong you want it to taste)
VANILLA ICING
- 3C icing sugar
- 270g butter
- 1-2 tsp vanilla paste
- 2-3 Tbs milk
- Red and blue food colouring (or purple)
METHOD
Tip: Make the sponges the day before
For the coffee cake:
- Line and grease a 22cm rectangular baking tray
- Using an electric beater, combine the butter and sugar until light in colour and fluffy. Mix in the eggs one at a time, beating thoroughly between each addition.
- Add the coffee and milk and mix until well combined
- Sift the flour, baking powder and bicarb soda together then fold into the coffee mixture.
- Spread into the prepared pan and bake at 170'C for 30 minutes or until a skewer inserted comes out clean
- Leave to cool in the pan
For the chocolate cake:
- Line and grease a 22cm rectangular baking tray
- Put the butter, milk and sugar into a saucepan and stir until melted over low heat. Once the butter has melted and sugar dissolved, take off the heat and add the cocoa and bicarb soda. Leave aside to cool.
- Once cooled, transfer to a bowl and mix in the eggs and the flour until well combined.
- Pour into the prepared pan and bake at 170'C for 30 minutes or until a skewer inserted comes out clean
- Leave to cool in the pan
To make the coffee icing:
- Combine all ingredients in a bowl and mix until light and fluffy, and all the sugar has dissolved
To make the purple icing:
- Combine all the ingredients in a bowl and mix until light and fluffy, and all the sugar has dissolved. Add sufficient food colouring to achieve desired colour.
ASSEMBLING THE CAKE
Cut the sponges into circles of decreasing size - either freehand it or find objects with the diameters you want. Also be careful you don't run out of cake so plan ahead.
You'll want to have 4 circles of decreasing size and relatively similar height from each sponge. Stack them in alternating flavours e.g. smallest coffee, second smallest chocolate, third smallest coffee and so on; Once you're happy with how it's looking, move on to the next step.
Starting with the bottom circle, spread the coffee buttercream in between each layer and stack up; then spread a layer of buttercream around the whole cake. Put the cake in the fridge to harden (~10 - 15 minutes)
Once the cake has hardened, use a sharp knife to carve the cake into a ball shape. (I wish I could give more detailed instructions but you literally just shave off cake and icing until it's a ball - best advice is probably to go slowly because you don't want to cut off too much cake at one time)
Once you're satisfied with the ball, spread a thin layer of the purple icing over the cake and put in the fridge to harden again (the crumb coat). Once this has hardened, spread a thicker layer uniformly over the cake.
Using a piping bag (or freezer bag or ziplock bag) with the tip cut off, pipe curly 'S' shapes over the cake until the whole thing is covered. Transfer the cake to the fridge to harden.
While the cake is in the fridge, melt ~50g of dark chocolate and pipe that into a stem on some greaseproof paper on a tray/plate (sort of a sideways 'S' with a stalk coming out of the middle). Make sure the middle stalk is thick and long enough to be stuck into the cake. Pop it in the fridge to harden.
Once the stem and icing has hardened, make a small cut into the top of the cake, then stick the stem in.
And there you have a cake worthy of the Pirate King!
Happy slothing!!
xx
Ooh that looks amazing! It looks like it was a tiresome ordeal to get the cake spherical, but the end product was definitely worth it. Have you tried Swiss meringue buttercream? I heard it's less sweet and just as easy to pipe. I've not yet made it but it's definitely something I'm trying next time I'm baking.
ReplyDeleteThank you!!!
ReplyDeleteMy one and only time dealing with those kinds of meringues where you heat something ended disasterously thanks to a miscalculation in converting Farenheit to Celcius and a dodgy recipe; but it's something I might try in the future!
Haha, sounds like you've been traumatised. But Swiss meringue is fool proof apparently; you use a bain-marie so no faffing with thermometers :) I'll let you know how it goes when I try it.
Deletei love this! i love one piece!
ReplyDelete