Showing posts with label cake. Show all posts

Friday, 29 April 2016

Fan-Tasty: One Piece Gomu-gomu No Cake

Man, oh man, I've been wanting to make something like this for a while. Word of warning, this is pretty text heavy so if you're wanting to skip to the recipe/method because who even has time for that,click here . Those who read on, I salute you.

For those of you who are unfamiliar with what exactly this cake is - here's a quick rundown. One Piece is a manga series by Eiichiro Oda that started in 1997, and is still running to this day in Weekly Shonen Jump. It's been collected into eighty volumes at last count and it's still going strong. It follows the adventures of Monkey D Luffy, a 'rubber man', and his pirate crew as they sail the seas in search of the fabled One Piece, the former Pirate King's treasure that he left behind; and in this world, there exist things called 'Devil Fruit' which bestow powers on the person who eats them at the cost of them becoming unable to swim. There are different kinds of 'Devil Fruit' - such as ones that turns the user into animals, ones that give the user the ability to control elements or ones that turns the user into rubber. It's all very interesting and you can read more about the series on Wikipedia, go find all eighty volumes at bookstores or watch the first episode on Crunchyroll here.

(source) Apt name is apt.

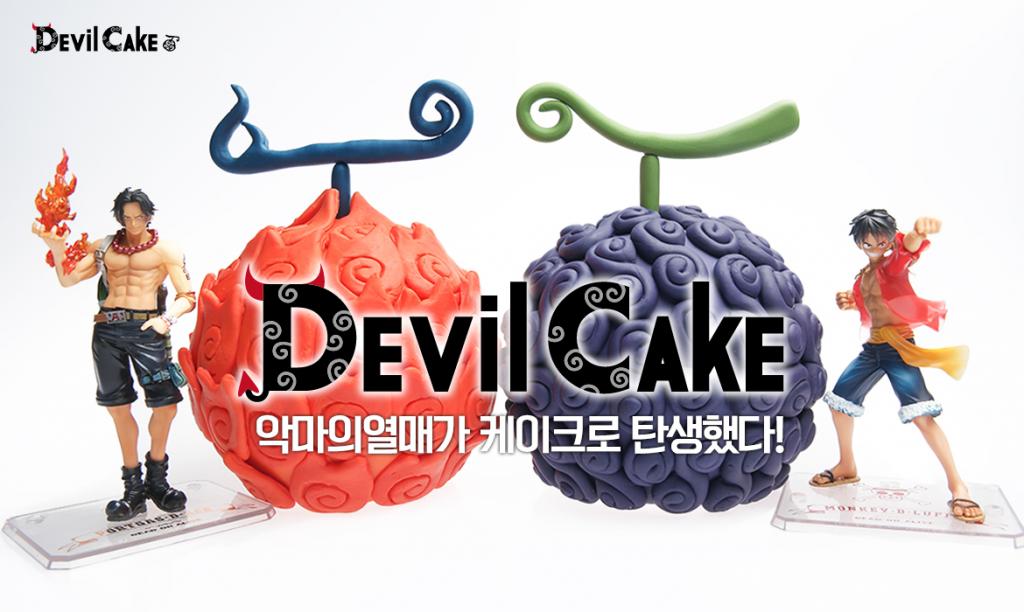
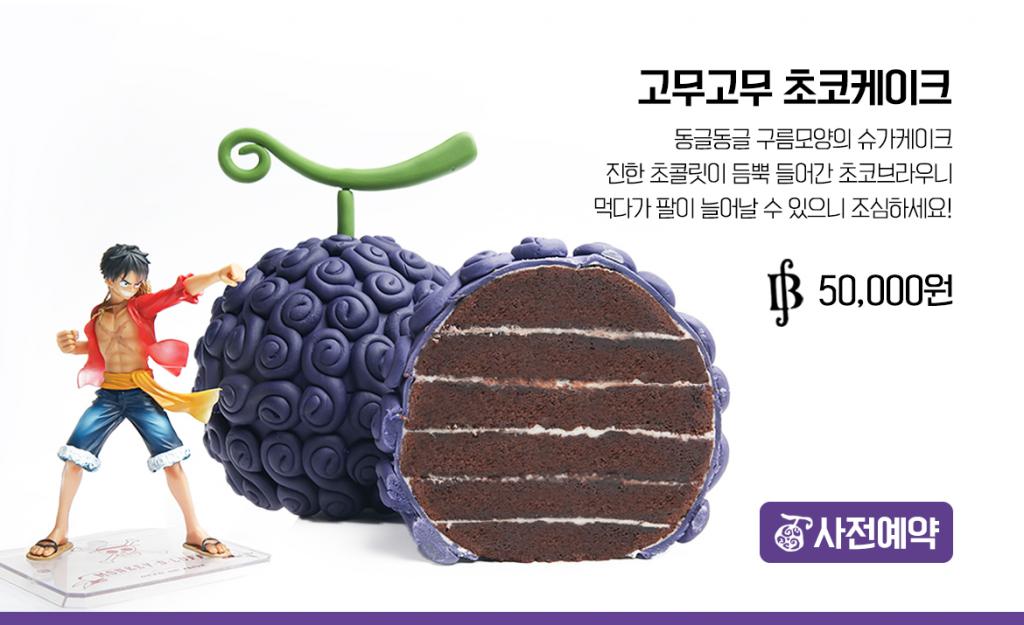
(source) The cake that started it all - Apparently it's layers of brownie cake; the orange one (Mera Mera no Mi) is cheesecake and pound cake.

    
(source)  The Gomu Gomu no Mi (or Gum Gum Fruit if,
like me, you watched the English version on Cheez TV)
 
The Gomu Gomu no Cake, in all it's glory. While looking
up reference pictures for this entry, someone asked me
whilst looking at the picture above: 'Isn't that the cake
you made?' - One of the best fistpump moments I've ever had.

This whole thing was first inspired by an article I saw on Kotaku here about these cakes being available in Korea for a limited run; and I'm a sucker for combinations of some of my favourite things (seen here as anime and baked goods) so my curiousity was piqued. Looking at the pictures, I ran into my first (of many) hurdles. Fondant. It's not that I don't like fondant, per se, but if I can avoid it, I will. I acknowledge that there are many things you can do with fondant that just aren't possible with other icings but I still can't bring myself to cover perfectly good cake with it. Quite possibly, I've just never had good fondant. Which, led me to my second problem - sweetness.

My icing of choice for something like this where I needed to be able to pipe it was buttercream which is basically icing sugar and butter and flavouring. That's it; and for a cake of this size, having to eat that much buttercream in one go would get sickly pretty quickly. In hindsight, cream cheese icing would probably be a good alternative for the outer swirls (maybe I can make the Mera Mera no Mi out of red velvet cake next...hmm); which led me to my third problem - flavours.

The original cake is apparently layers of brownie cake; and that, to me, when coupled with the sweetness of the buttercream, would turn into a mess of sugar. Which although not neccessarily a bad thing was not what I was after.Some of the highlights of my thought process were 'lemon and rosemary cake and earl grey buttercream' and 'coffee and blackberry and whiped cream filling' but I decided to keep it simple, at least for a first attempt, and I went with a coffee flavoured sponge and a chocolate sponge in the hopes that the bitterness of the coffee would balance the sweetness of the sugar. To try and make it more palatable, I decided to go with a coffee buttercream for the inner layers and the outer swirls was a vanilla buttercream. All in all, wasn't bad - was still very sweet but the coffee aftertaste helped.

Once that was all sorted out, the fourth problem reared its ugly head. How do you make a spherical cake without a spherical cake tin? This was the question I asked myself (and Google) and the first, brilliant solution was 'Make two half-sphere cakes, then sandwich together,' on the off chance you have a hemispherical cake tin lying around. I am not one of those people. Looking at the original cake, you can see they've done it in layers so I decided to do something similar. I decided on concentric circles that, once stacked, would magically form a ball shape and got to work. Stand back, we're going to try maths!

Maths.
I decided to wing it instead and eyeball the cake into submission. First I made the sponges in a baking tray to ensure I got the maximum area (which gives you a bit more wiggle room when cutting). Once that was done, I left them aside overnight to cool. Potentially, you could make this in one day if you start the sponges early enough and you use a fridge to expedite the cooling process. Next, I came across the fifth problem, circles. I don't have that much confidence in my knife ability that I can cut a perfect circle freehand so I found a ramekin, a small bowl, a round yogurt lid and a bigger bowl. Innovation is key!

Does anyone remember that tongue twister about making bitter batter better with better butter?
Make sure you have enough cake for the circle with the biggest circumference!

Looked good when it was all separate but...

"Are you making a honeypot cake?"
 Not the most spherical sphere, much to my disappointment. Not to be deterred, I decided to see if a crumb coating would add any improvement. This step's pretty easy, just spread a layer of coffee buttercream in between each layer and build up your cake, then cover the whole thing in a thin layer of icing. Note that it might slide around as you build up the layers, but they can be easily pushed back into place with none the wiser. After the crumb coat had set after about ten minutes in the fridge, it was time to practice my knife skills. I'm sure there's an actual professional way to do this, but I just shaved the sides down until it looked like a sphere. It definitely helped that the cake was hard though, I can only imagine it'd be ten times harder with the layers sliding all over the place - so don't skip the refrigeration step!

Disappointingly enough, the crumb coat did
not magically turn it into a perfect sphere
After carving, it looked so much better - just use
a sharp knife and whittle that cake!

Once it's ball-like enough for you, crumb coat with purple icing then in the fridge it goes; then once that's set, you can apply a thicker layer and then it's on to the fun part. Now, I'm a fan of buying things only they're absolutely, positively neccessary and piping bags fall squarely into that category because I figure I can use a ziplock or freezer bag to the same effect more-or-less. However, last Christmas I was blessed with the gift of disposable piping bags, so I decided to treat myself and use one. Straight away, it was a lot easier to pipe but I think I made the hole a bit too big and my swirls didn't turn out quite as planned. So back to the freezer bag I went, and although slightly more cumbersome to hold, I got a better result. Moral of the story - practice does make perfect.

Once you're satisfied with how it looks, pop it back in the fridge and you can get working on the stem. I definitely remembered the stalk being green but didn't feel up to experimenting with food colouring and white chocolate. Fun fact, did you know you can buy pre-coloured icing/chocolate in tubes - and they have flavours? Mind blown that day in the baking aisle. Of course, I didn't have those on me at the time so I went with dark chocolate; and this is where my perfectionist streak metaphorically gut-punched me. The first time I did the stalk, I was pretty happy until I nudged it accidentally in transit to the fridge. Easily fixed, a bit of scraping and I ended up with a far thicker stalk than intended. Third time's the charm, as they say.

Only, not quite so in this case. I took it out of the fridge a few minutes later, only to see that the chocolate had spread out. Maybe it'll look okay when I stick it into the cake, I thought.

It didn't. I spent a good minute looking at it and thinking 'That looks okay,' but, well, the picture doesn't lie. Fourth time lucky! I melted it down and tried again, and failed again. Third Fifth time's the charm, as they say. With all the focus and steady hands of a neurosurgeon, I finally managed the perfect stalk and I'm so glad I did. In the immortal words of Ron Swanson: "Never half-ass two things. Whole ass one thing."

Triple batch of icing, ready to go!

The crumb coat enables a really clean second layer.

Primary school flashback to space dioramas. Mine was on Mars.

Swirls upon swirls upon swirls.


Yeah, looks just as bad as I remember it looking
Slices just like a rockmelon. Now, who's up for a swim?

Sunday, 4 January 2015

Ghibli Week 5: The Cat Returns Strawberry Shortcake and Fish Crackers

This post we travel to a feline kingdom where nothing is what it seems, and it's one of the first Ghibli movies I watched. The Cat Returns (猫の恩返し) was released in 2002 and astute viewers might recognise The Baron from another Ghibli movie, Whisper of the Heart. I've decided to make two things from this movie: the cake that Muta eats in the palace and the fish crackers that Haru eats then gives to the stray cat!


Fishy fishy fishy fish

(source) They're little fish!! So much fish!

No, it's not the cake with the fish on top although I kind of wish it was


Perfect for summer strawberry season!
In a movie that's centered around cats, it's only to be expected that there's a lot of fish! To be more accurate, the cake should probably contain dark fleshed fish like tuna or something, and the pink cream should probably be salmon mousse but that's approaching Heston-esque levels of experimentation and I'm not quite ready to make that jump yet. So I decided: strawberry shortcake. There's two types of strawberry shortcake that I know of; one uses buttery shortbread whilst the other uses chiffon-soft spongecake. Following the screenshot, I went with the sponge version. The recipe is pretty simple and the only problem I found was that the sponge was a bit dry, but I think that could be fixed by brushing it with syrup like a genoise. Keep in mind that the eggs and sugar need to be beaten until thick and creamy and pale because the volume of the sponge comes from the amount of air being beaten in. (science disclaimer: information from Wikipedia; and in the distance you can hear the screams of horrified tutors, lecturers and teachers)


Super simple 

Eggs and sugar into a bowl then...

It gets quite creamy and pale after ~5 mins or so of beating

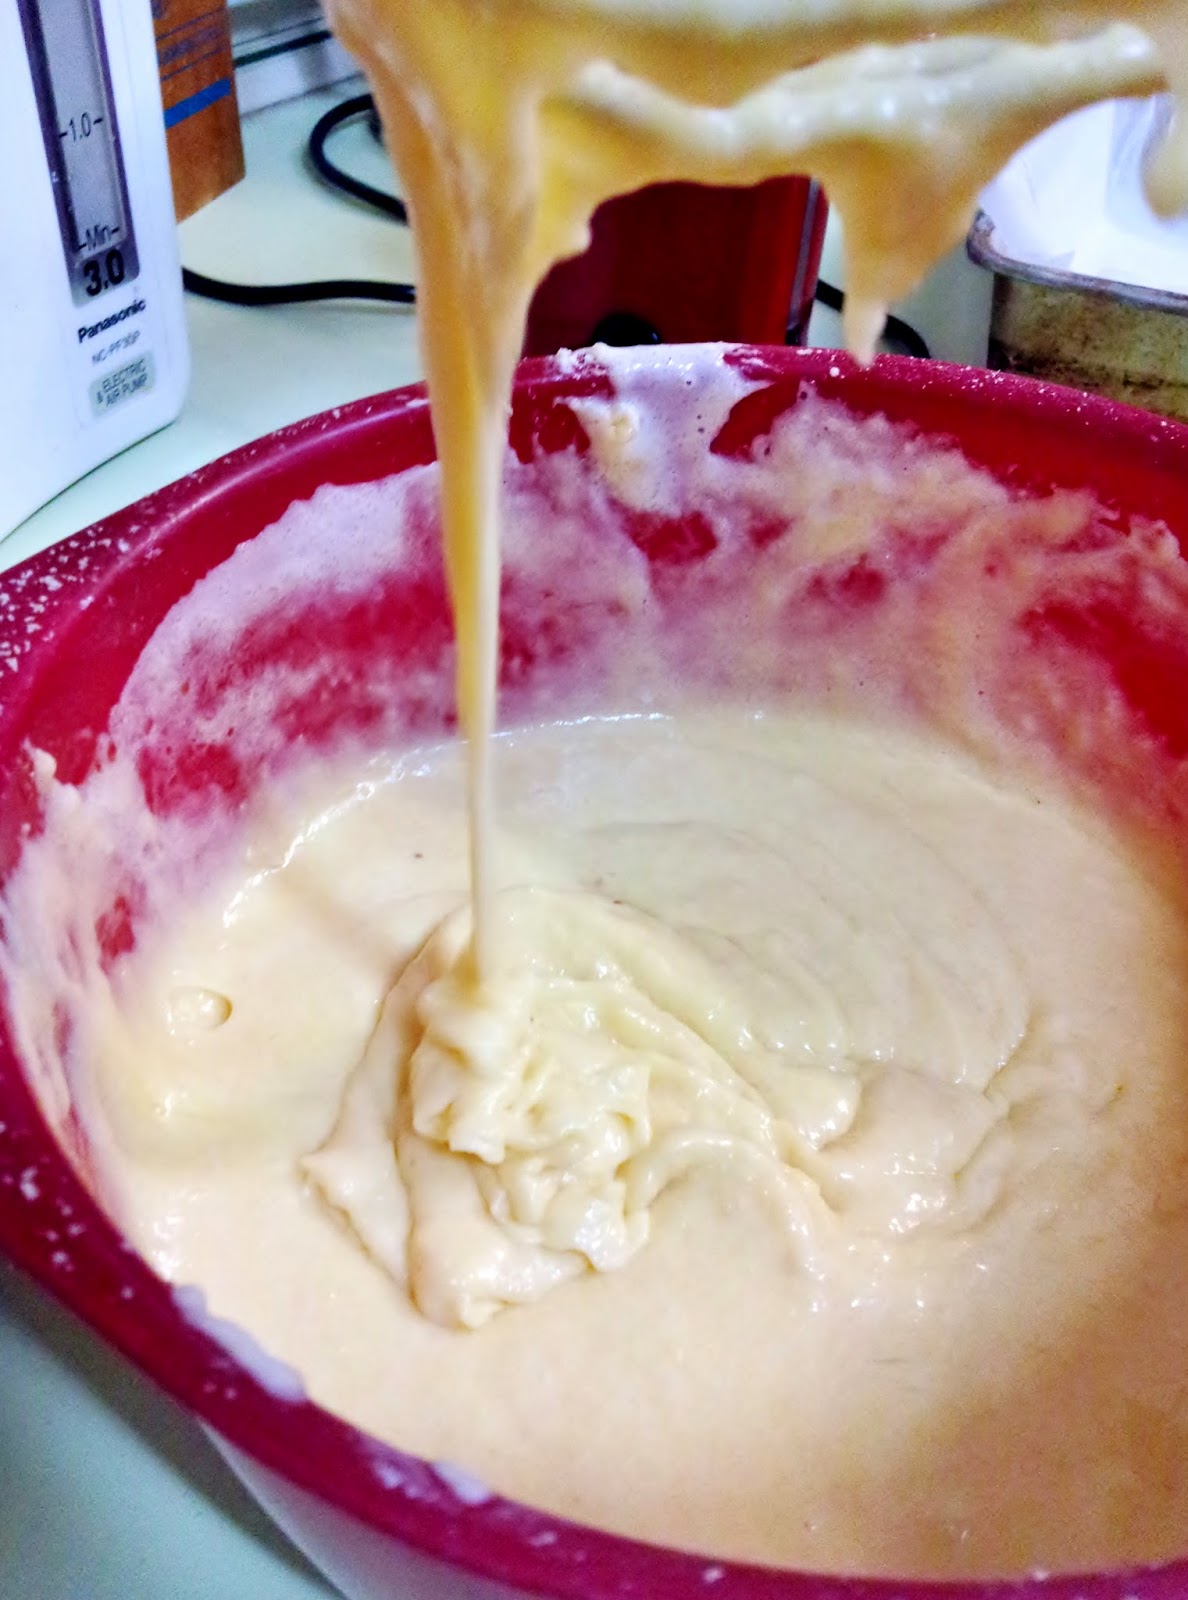
See those drips? That's a 'ribbon'

No need to bang it on the table to get rid of the air

It expands a lot so make sure your pan's big enough!
The filling's what I'm going to call 'time-sensitive' because I decided to stabilise the cream with gelatin and the first time I did it, I left the cream standing too long and it solidified completely and I couldn't spread it at all. This prompted a quick run to the store to grab more cream, so you'll have to work quickly but if you're not going to stabilise it then there's no need to worry! By stabilising the cream with gelatin, it makes it easier to transport, especially in hot weather. It also prevents the cream from 'weeping' where the cream separates and water leaks out. To make the filling pink, I used some red food colouring and stirred in strawberry jam for extra flavour. 

To assemble the cake I used the screenshot as a guide, so first cut the sponge into two even halves. I was lazy and eyeballed it, but you can get better results by using the toothpick method I covered in my Gateau Opera post! After you've done that, spread the bottom half with half of the pink cream and layer the sliced strawberries on top (you may have to push them into the cream slightly). Next, cover the strawberries with the rest of the pink cream and even out the top so it's flat, then transfer the other half on top. Spread that half with the remaining cream and decorate with the hulled strawberries. Easy pie! 


By this time, the filling had already started to set!

I made the mistake of putting the strawberries on BEFORE I cut the sides square, whoops.

The gelatin makes the filling almost pudding like.

With the crackers, at first I thought of using store bought crackers like Dixie Drumsticks because they're kind of shaped like fish but, once again I made my life more difficult and made my own. The crackers, or rather savoury shortbread, should probably be fish flavoured, but fish crackers are something very different to me (they're like prawn crackers except they taste like fish) so I went with a recipe I've followed before for cheese cookies!

Also please, please, please do not feed these crackers to your pets, they're not meant for animal consumption even if they are shaped like adorable fish. I tried to find a fish shaped cookie cutter which you'd think would be easy enough, but no one sells them. I went to four different stores and turned out empty handed, and the online search produced cookie cutters that weren't the exact shape I wanted. I think you can make your own cookie cutters using a soft drink can, but, once again, I was lazy so I used a small knife to cut the shapes. The eyes were made using the thicker end of a chopstick (round, not the disposable flat ones) and I made the gills with the thinner end by making a kind of curved indent. If you're having trouble rolling the dough out, then I suggest sticking it in the fridge for about 15-20 minutes just to firm it up. I also put them back into the fridge after I did the detailing for about 5 minutes just to make sure that when I baked them, I wouldn't lose all my hard work. 


Buttery and cheesy

Don't roll it too flat or you might have trouble getting them onto the baking tray!

Freehand cutting awwwh yeeaaaaah but no seriously, if you have trouble, make a template out of paper and cut around that for a more uniform appearance

As you can see...not as uniform as I thought they were

Monday, 10 November 2014

Soupe (gateau) Opera

I went to the opera on Saturday at His Majesty’s Theatre with mumma sloth and it was great! We saw il Trovatore, a four act opera encompassing gypsies, soldiers, love and revenge. Amazing performances from all singers with excellent accompaniment from our very own West Australian Symphony Orchestra; if you’ve never gone to the opera before, the 2015 line-up definitely worth a look with The Marriage of Figaro, The Barber of Seville and Madame Butterfly just being some of the operas being shown. Funnily enough, the couple sitting next to us sat next to us at a previous opera, The Magic Flute. Small world? Nah, small Perth. 

So theatre. Much majesty.

Speaking of small places; I went for brunch down in Freo with the high school kids and we went to this café called ‘Lenny the Ox’. How could we resist? Apparently, this place is co-owned by the guys who do Ootong and Lincoln which is one of the first places that pops up when you search for ‘Fremantle’ and ‘Breakfast’ so it can’t be too bad, we thought; and with an Urbanspoon rating of 95%, the decision was made. On 20 Wray Ave, just past Freo Hospital with ample parking within walking distance, it’s tiny and quaint in all the right ways. The display cabinet was filled with paninis and aranchini as well as a selection of sweet treats like friands and muffins, and they have a decent all-day (until 2pm) breakfast menu to order off.


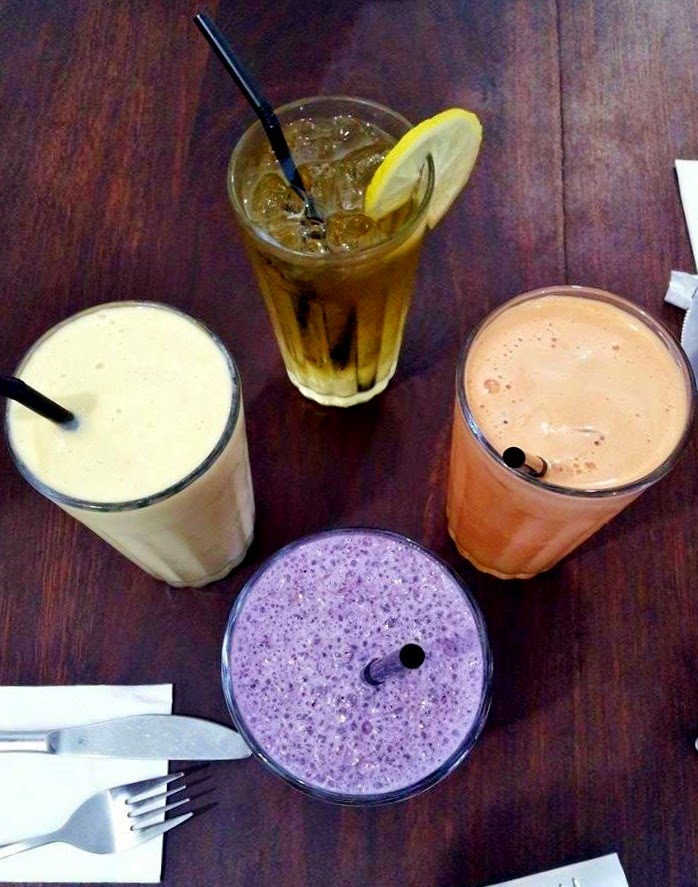
Clockwise from top: Iced tea, mystery juice (we think there was watermelon
and carrot, either way, delicious), blueberry smoothie, mango smoothie
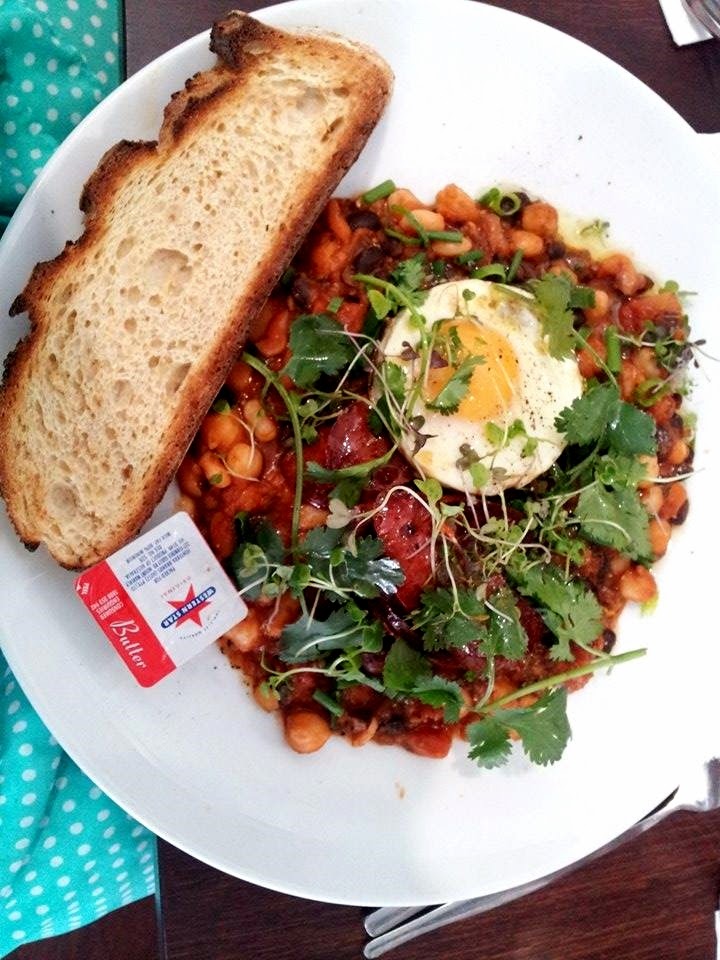
I ended up getting the baked beans with chorizo, labneh (Wikipedia tells me that it’s Greek yogurt, strained yogurt or yogurt cheese, the more you know) and a fried egg. Delicious and hearty, it’s worth shelling out a bit extra for it; in fact when it came to the table, F-Y sloth commented that she ‘was expecting Heinz baked beans, but they’re actual beans!’ Just a heads up that the fried egg yolk is runny, but I’ve been getting into the habit of having eggs with runny yolks, so that was a non-issue. Only thing I could nit-pick was that the bread was a bit too charred for my liking; I prefer not to have to saw at my toast, but once it soaks up all the gravy, the bread does soften and I like their generosity with the herbs which help to cut through the richness of the sauce and egg.

Baked beans with actual beans. 
Anyway, I’ve wanted to make this dessert for a while now, ever since I saw it on Masterchef Australia a while ago (get it: opera, gateau opera, shut up, I’m funny) and nearly forgetting to go to the opera inspired me to break out the beaters. Plus, I had a tub of cream left over from my matchamisu so I was playing around with some ideas for using it up. So! Gateau Opera, a seven layer cake with jaconde, coffee buttercream, coffee syrup and chocolate ganache. I had no idea what a jaconde was, let alone how to make a seven layer cake without it crumbling to pieces before my eyes; but like many things in life, the anticipation is sometimes more stressful than the actual event itself, and with a bit of care, it turned out brilliantly and as dad sloth put it, ‘this is as good as the cake in a restaurant’. Before I begin, I should tell you this is definitely not a traditional recipe, so all you purists may want to turn away now before any sensibilities are offended.

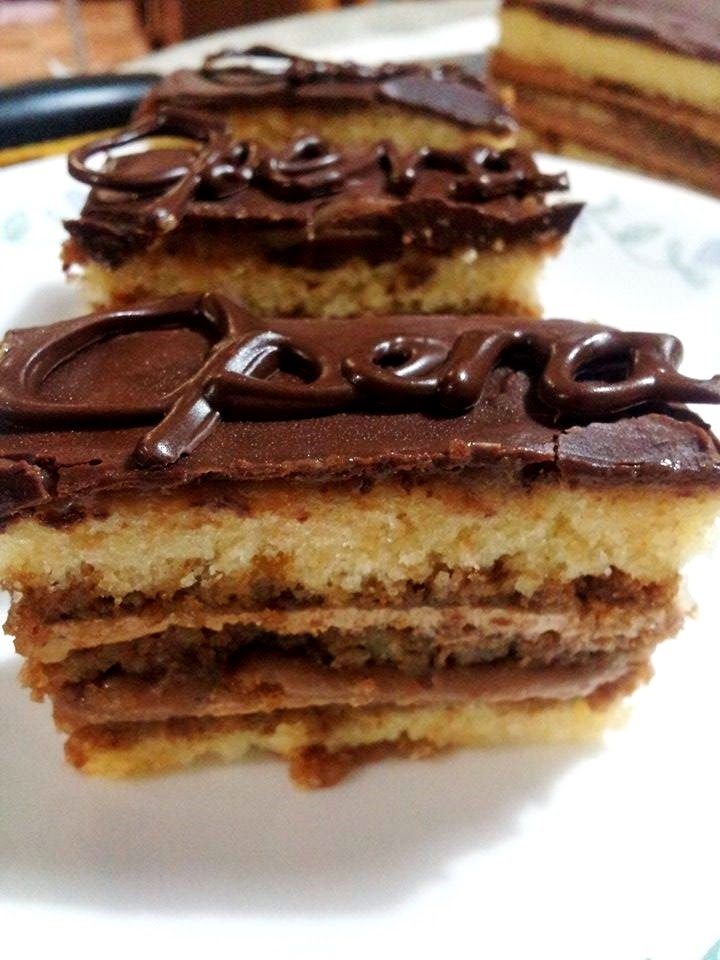
But with a result like this, who's arguing the legitimacy of a recipe? 
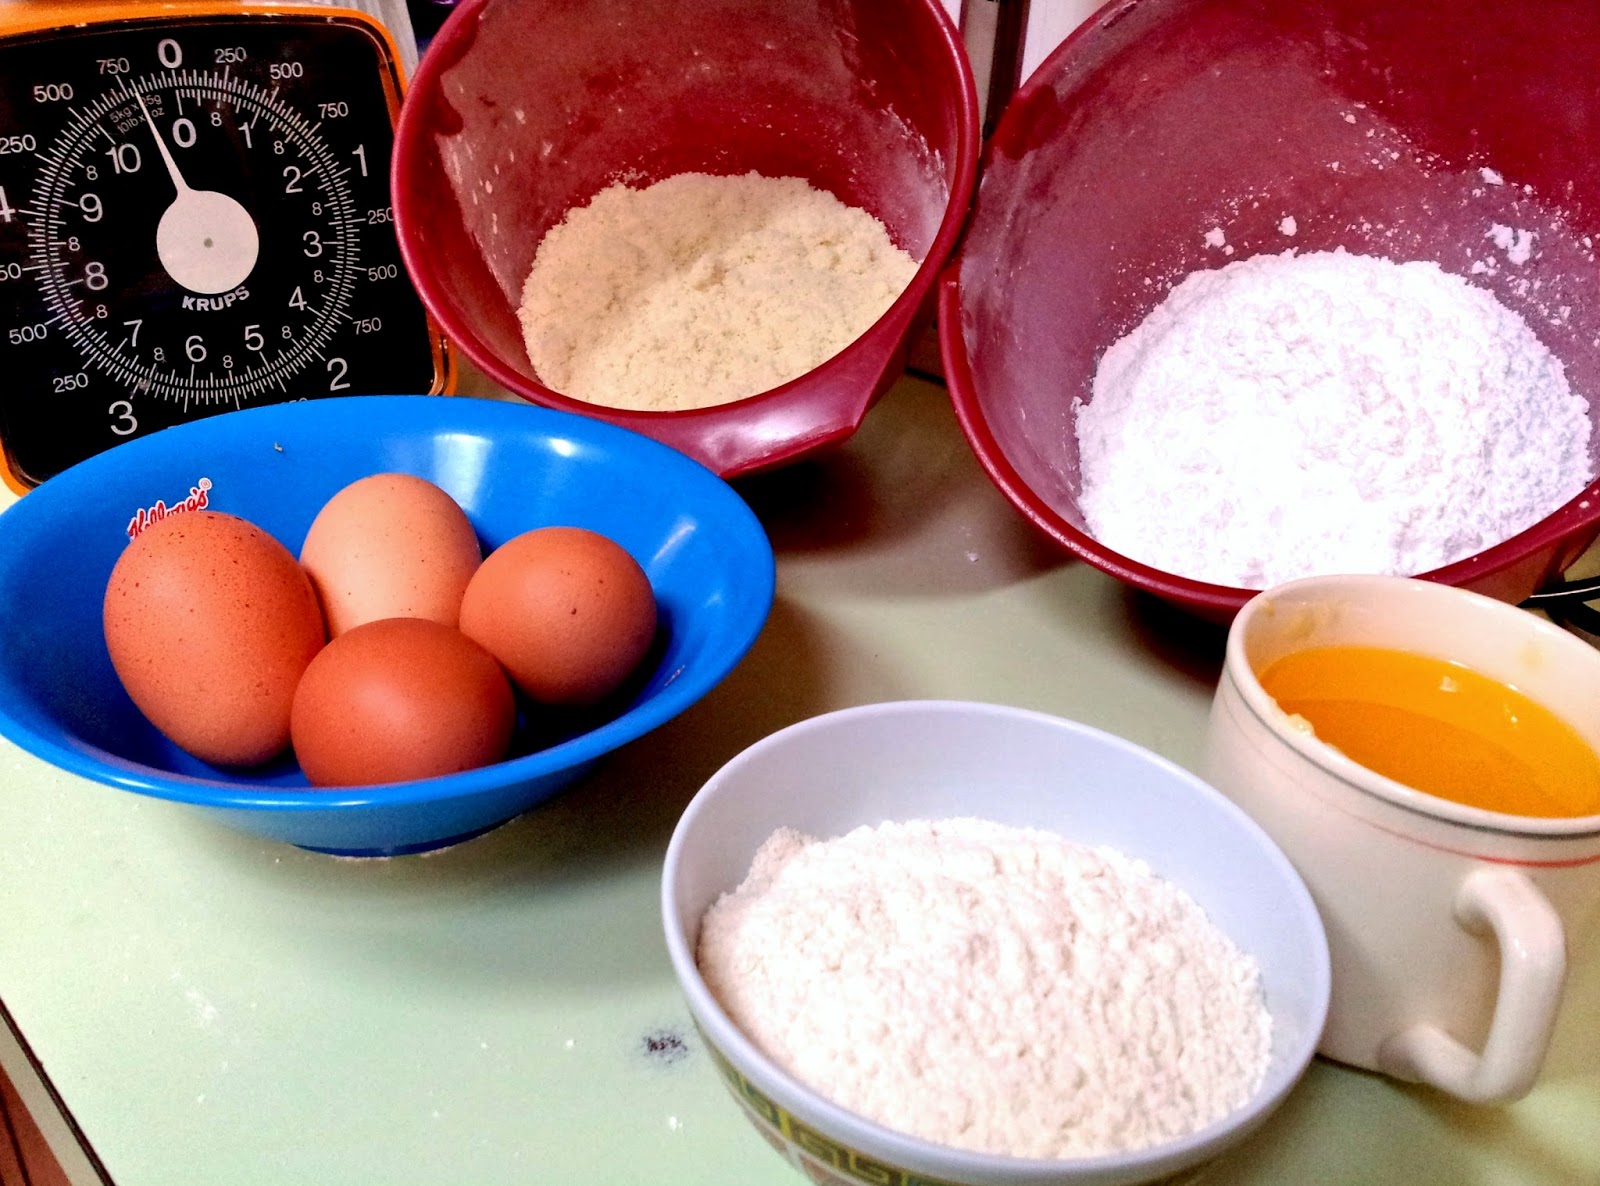
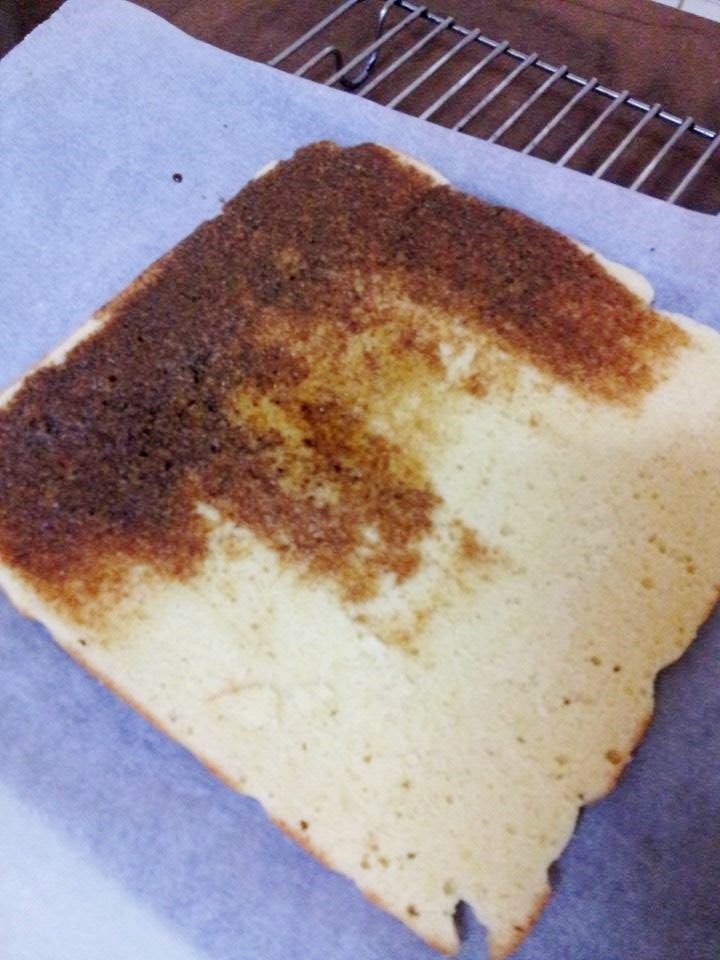
 Firstly, let’s tackle the sponge. Quite a few, in fact all, recipes said to include extra egg whites, I’m assuming to add to the volume of the batter and the overall lightness and texture of the cake. However I ran out of eggs and since I’m usually at a loss of what to do with the extra egg yolks, I decided to wing it. Amazingly, my recipe worked! The cake goes a tad dense overnight but I found it easier to cut that way. The sponge is not too sweet, and the flavour of the almond meal comes through quite strongly. When I gave some to mumma sloth to try, she asked how much butter was in it, so it also tastes a lot richer than it actually is. Brother-1 sloth commented that it was a bit dry, but I think that’s due to the fact I didn’t use enough coffee syrup to fully soak the cake.

Yes, that's a cup full of butter.
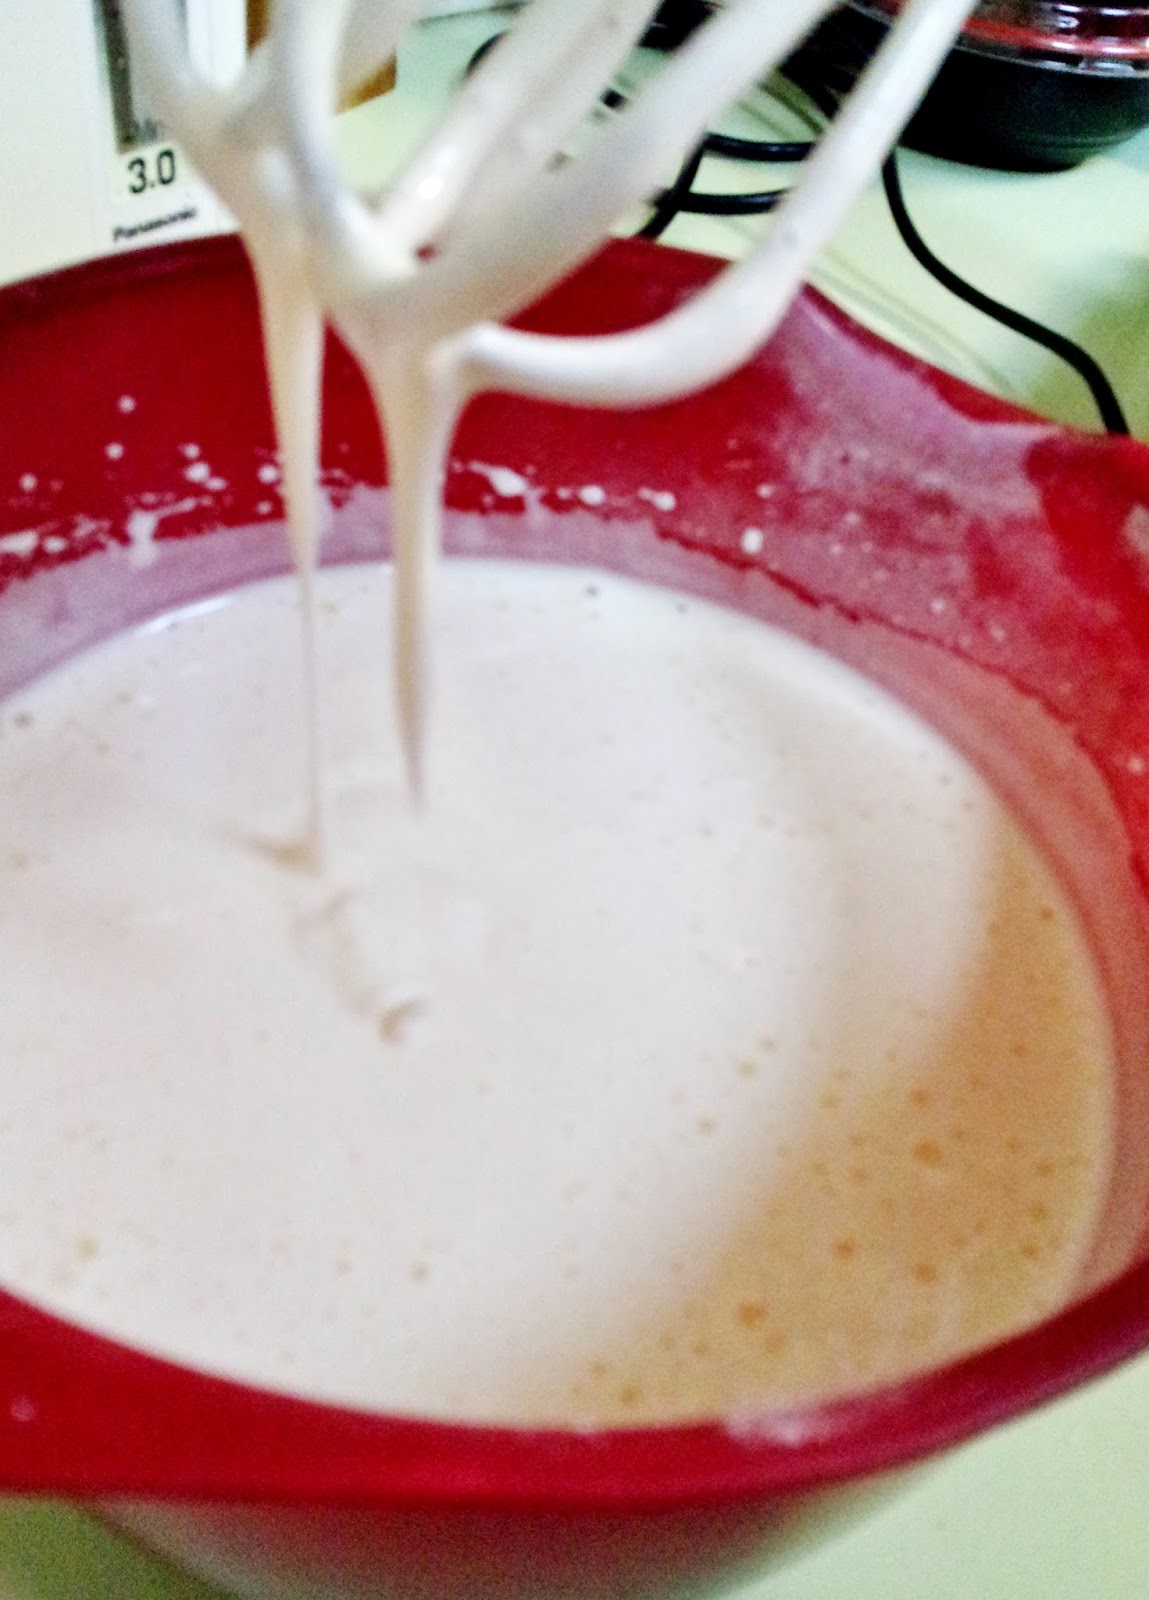
Add the eggs to the icing sugar and beat it, beat it, just beat it.
Aww yiss, light and fluffy. Took me about 10 minutes with an electric beater.
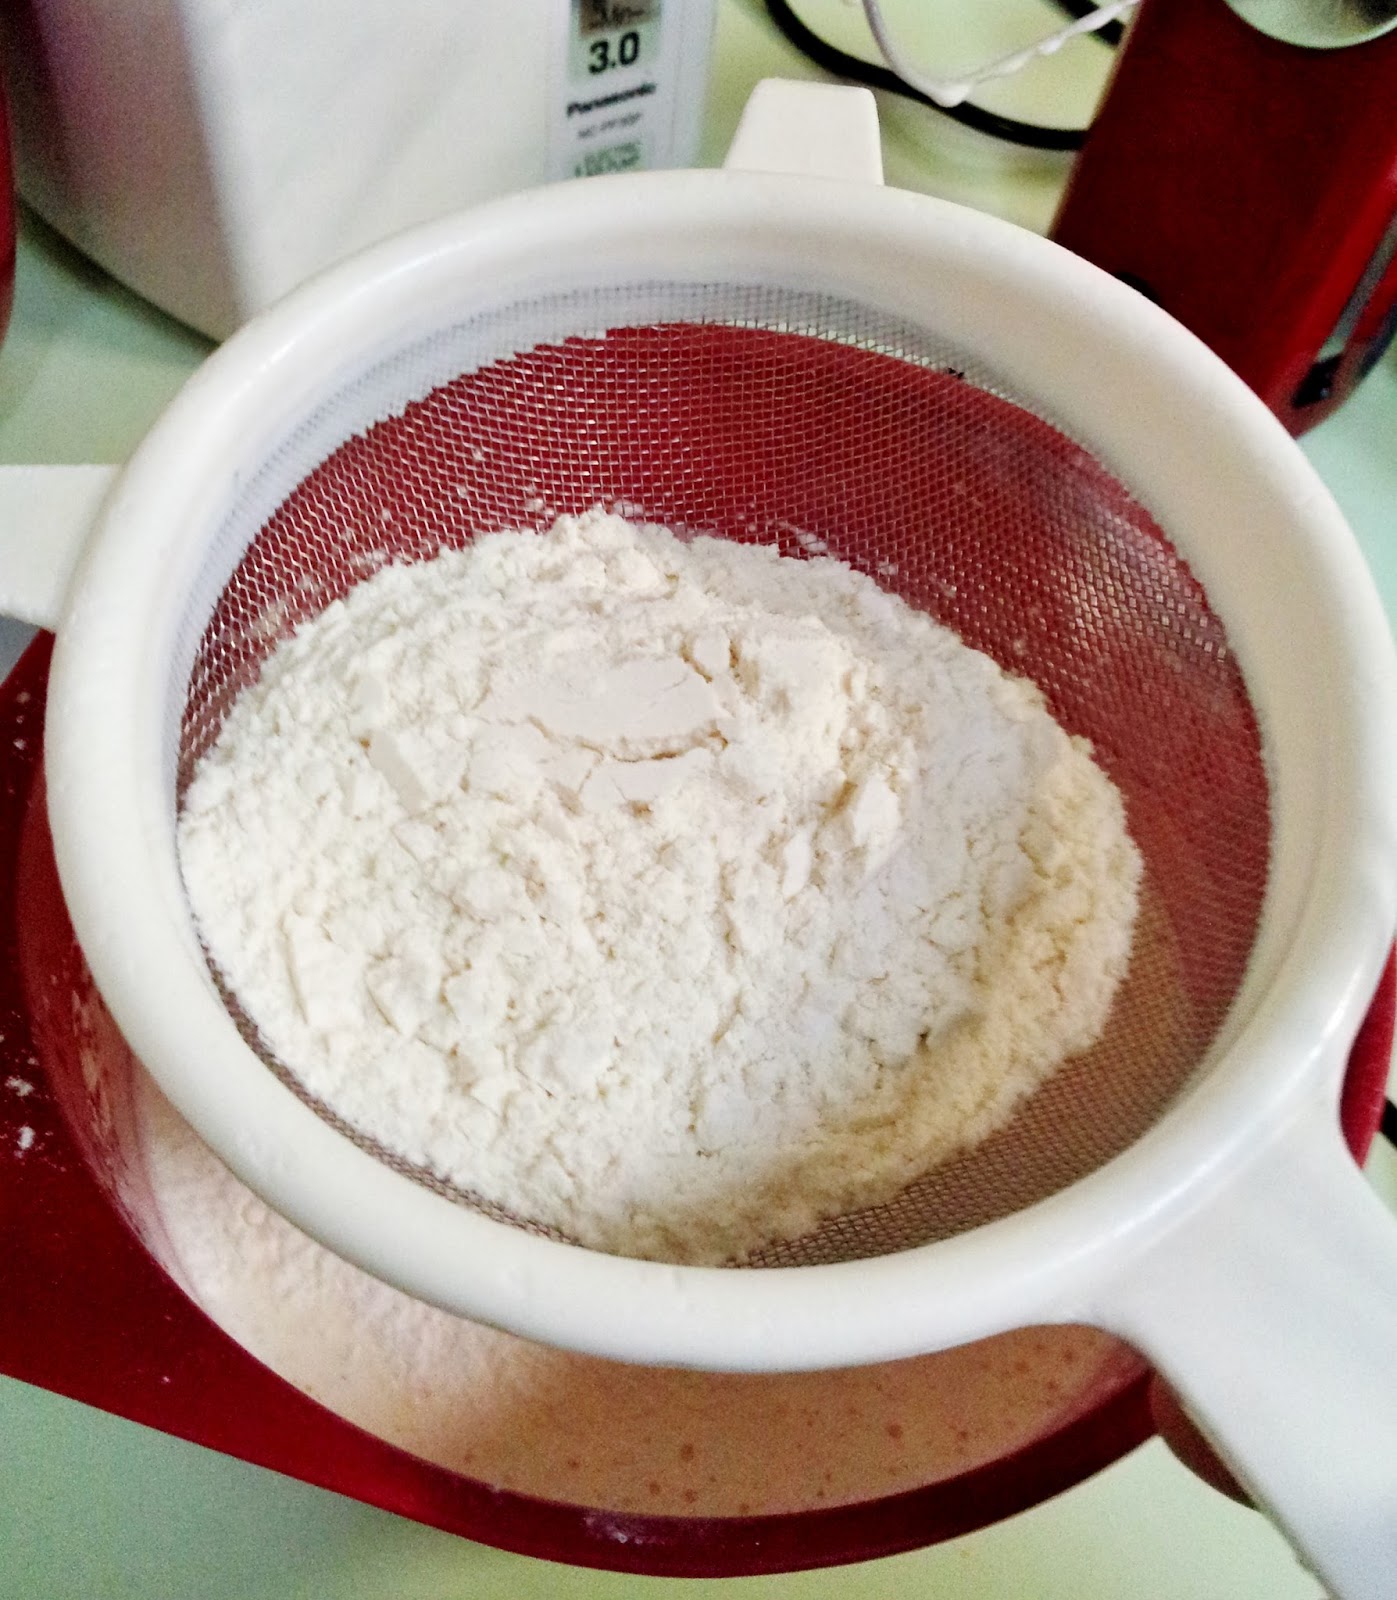
First, the flour...
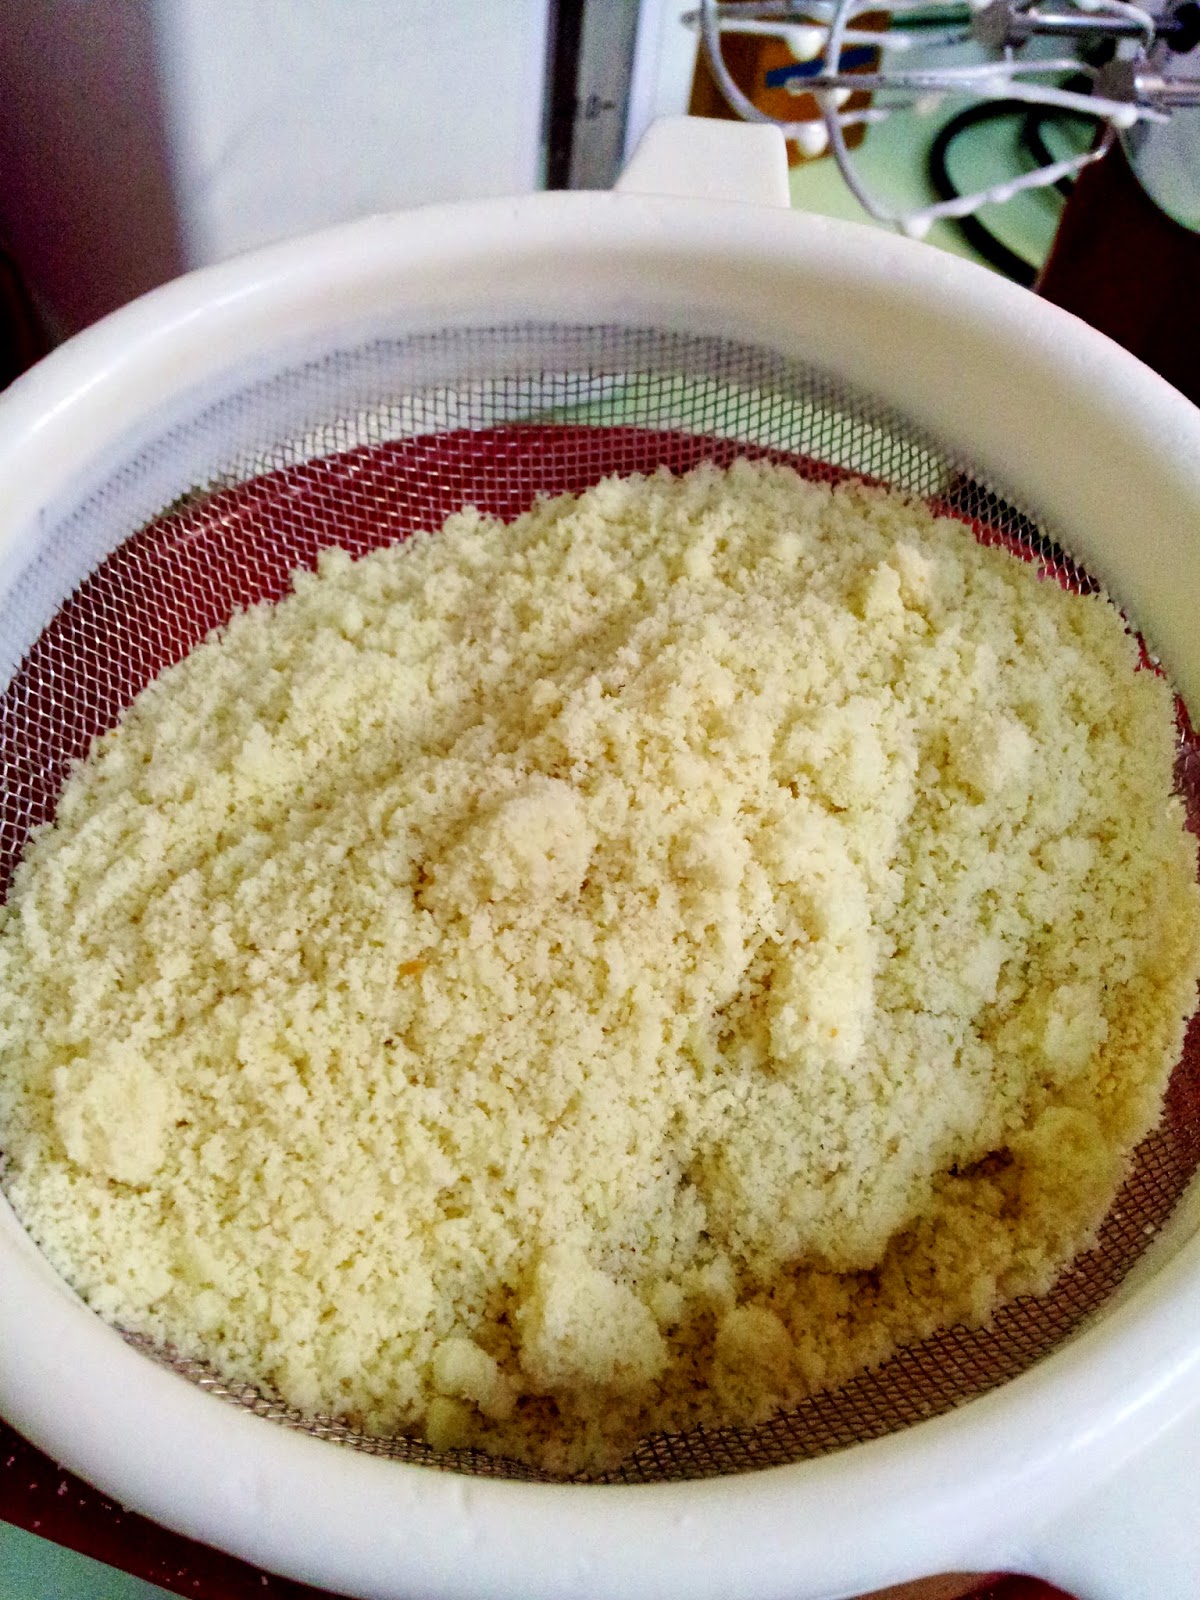
Then the almond meal...
Gently fold in the flour and almond meal 
Then the butter, do it a bit at a time (I found it really hard to pour and whisk at the same time)

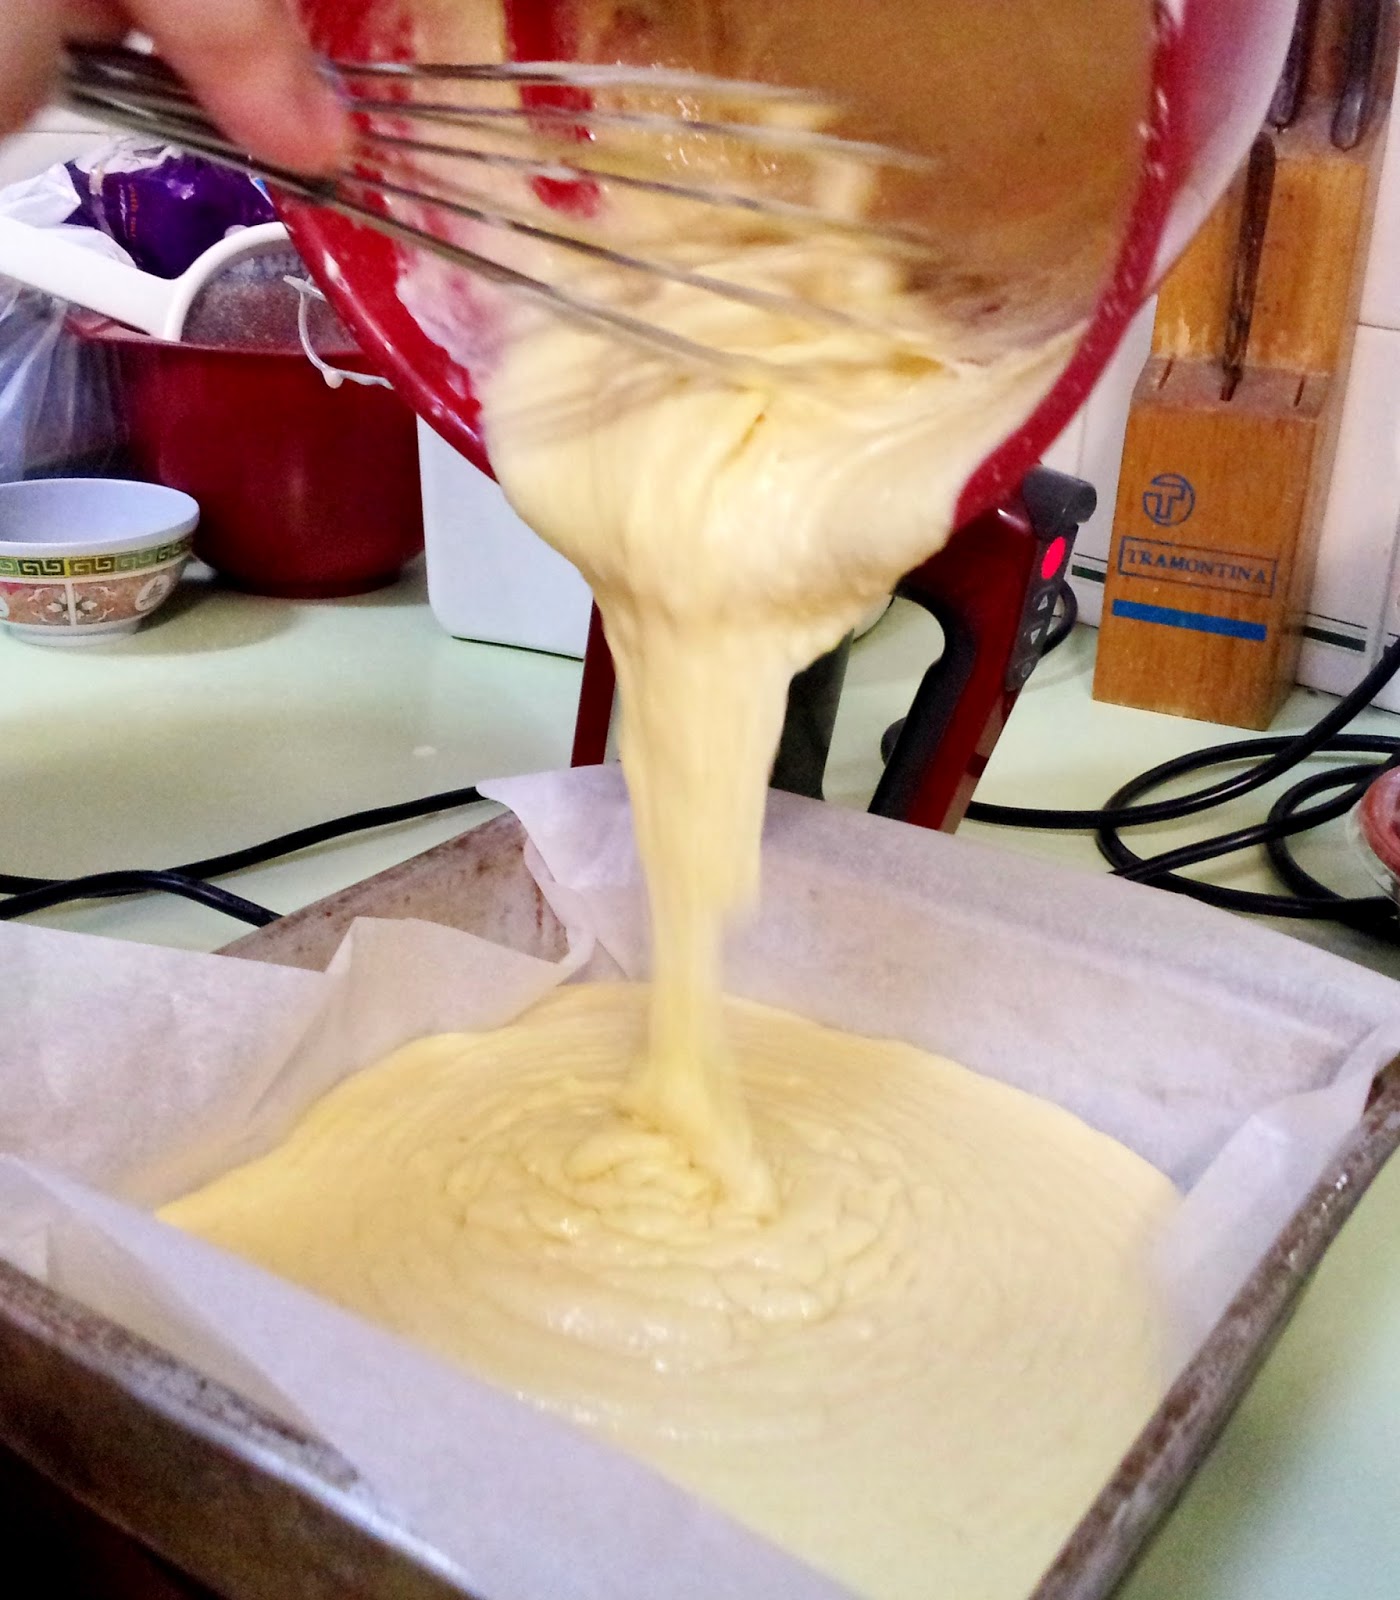
Into the greased and lined pan, it makes it a lot easier to remove
Lightly browned and oh-so-soft

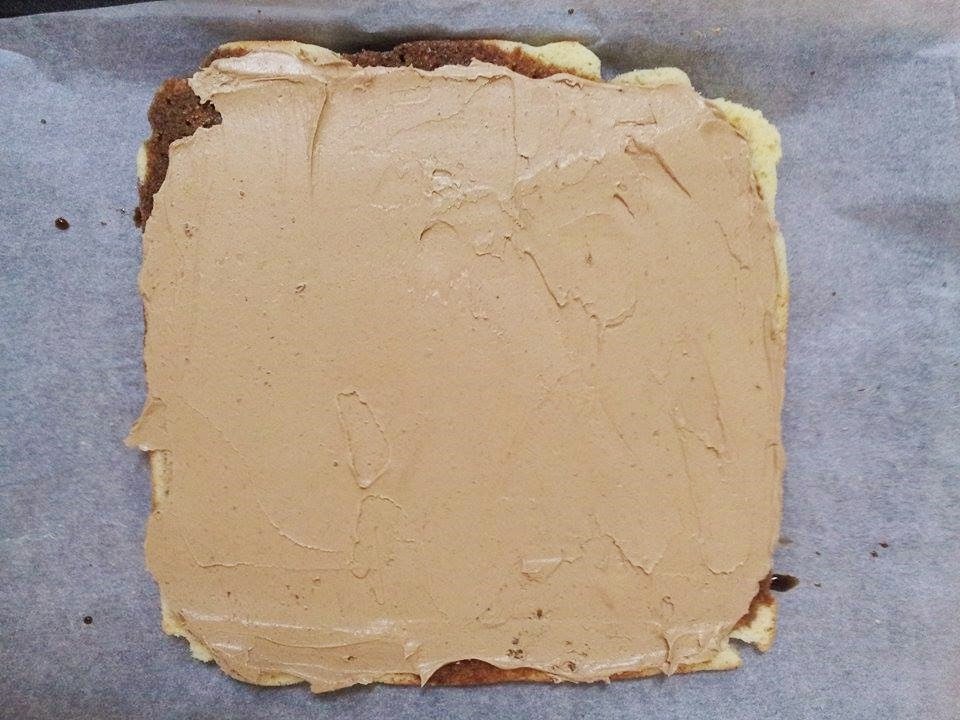
Secondly, the coffee buttercream, yes, do actually use butter, it feels so bad but tastes so good. Did you know there’s a French buttercream? Made with hot sugar syrup, egg yolks and butter whipped into oblivion, apparently it turns out this silky smooth, utterly decadent buttercream. I still don’t trust my ability to work with sugar syrup after a disastrous attempt at making Italian meringue (which was actually the recipe’s fault, come to think of it…) but my version still turns out a decent enough buttercream. I added the extra bit of chocolate to try and make it taste richer without actually making it richer, and I think it works well with the rest of the cake.

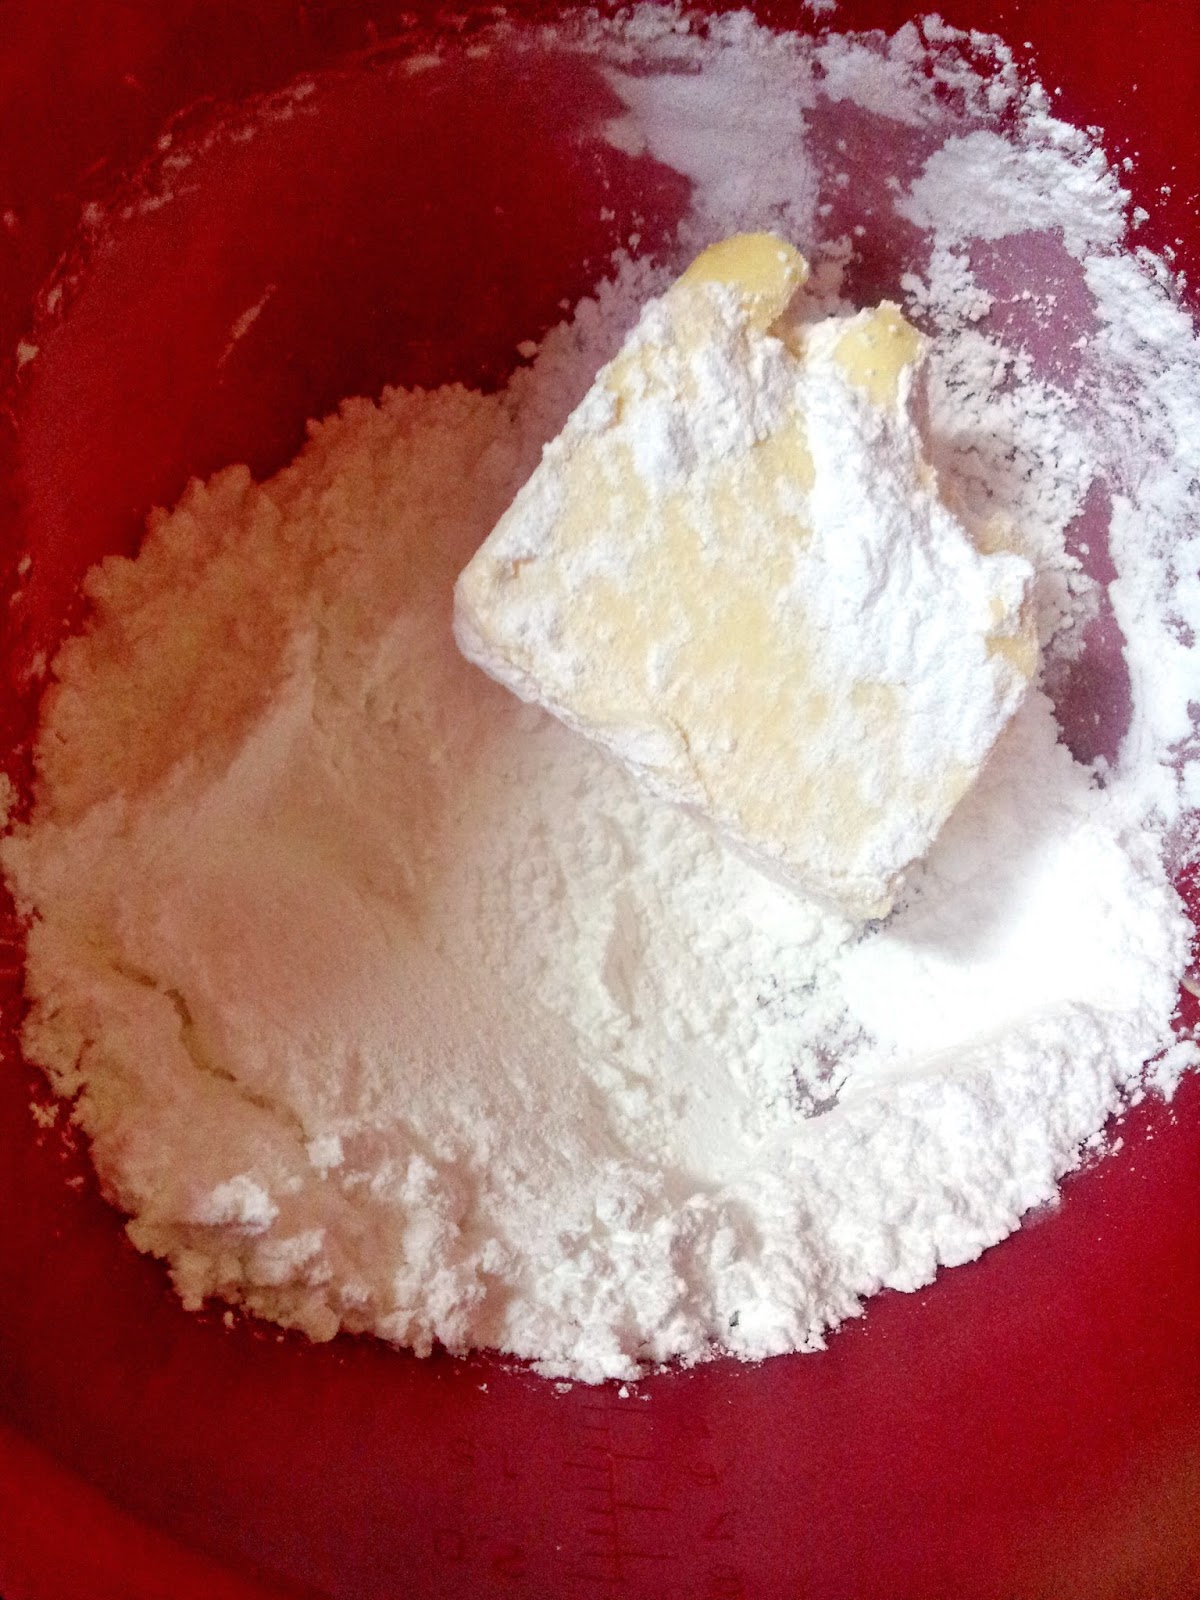
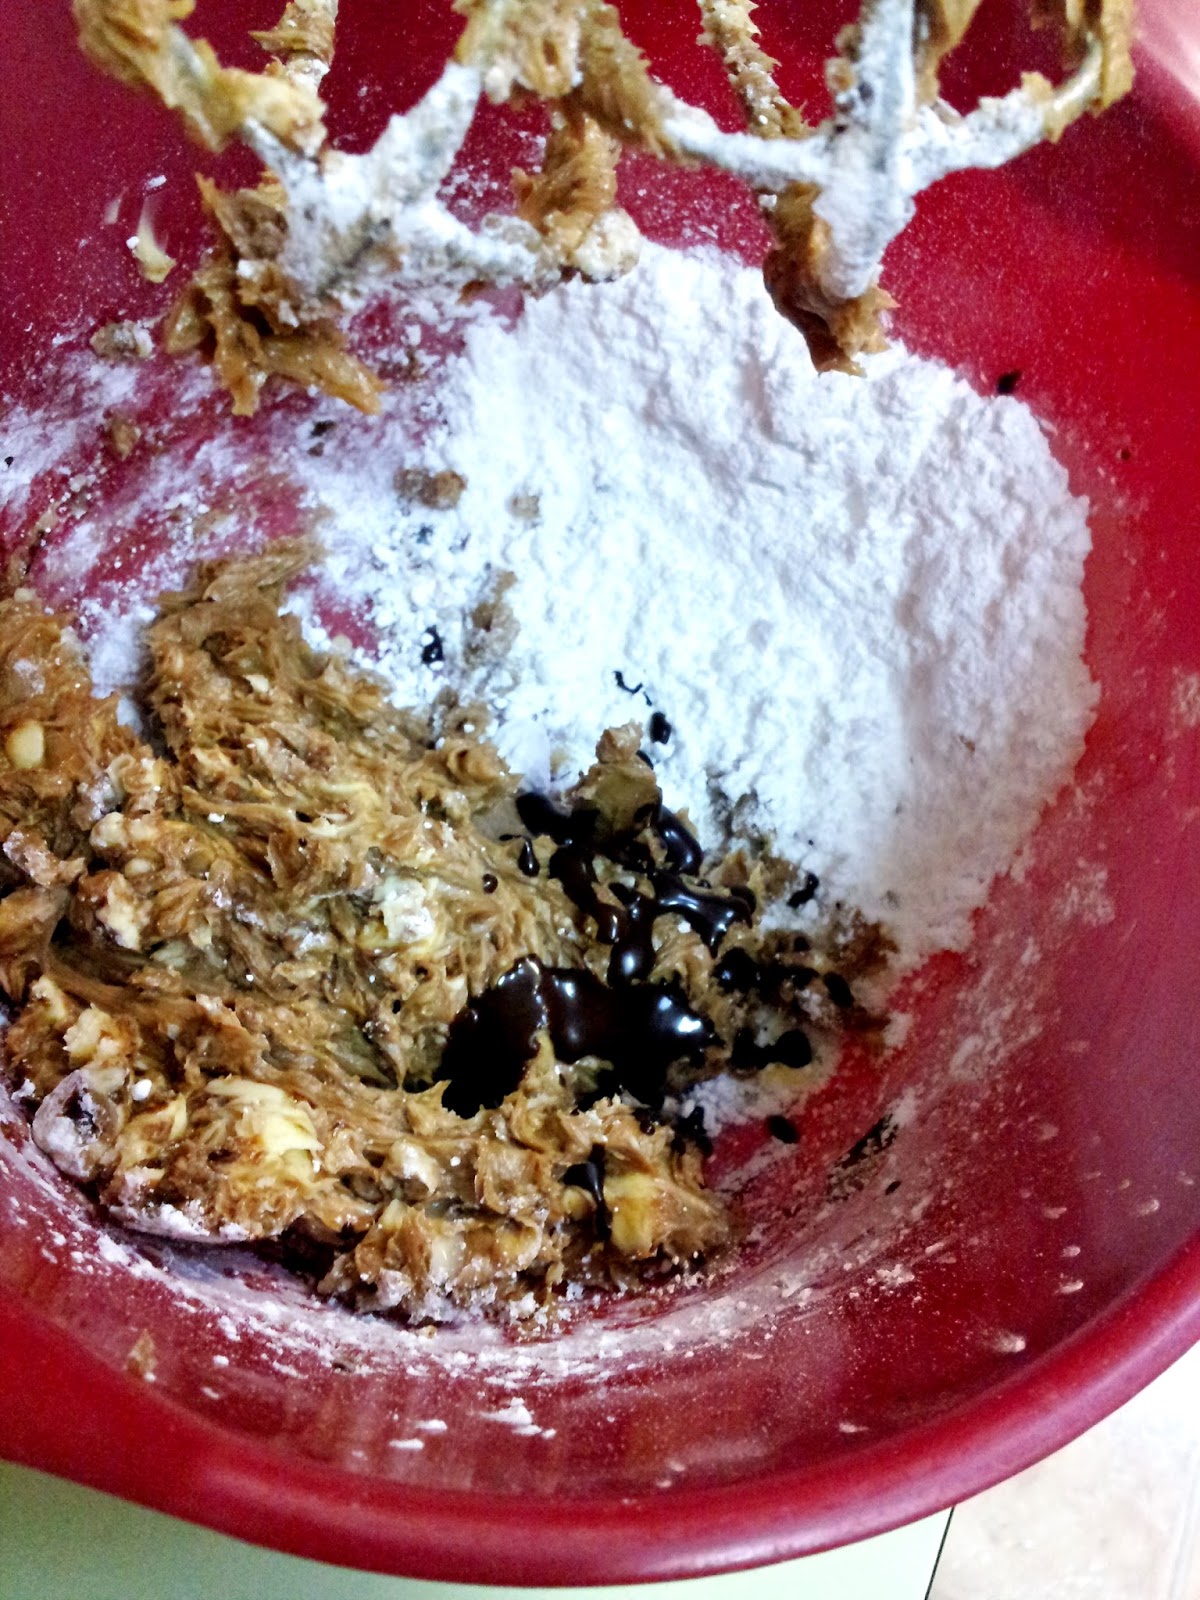
Look at that lump of butter. Try not to think about that lump of butter.

Super thick, super concentrated chocolate coffee essence.

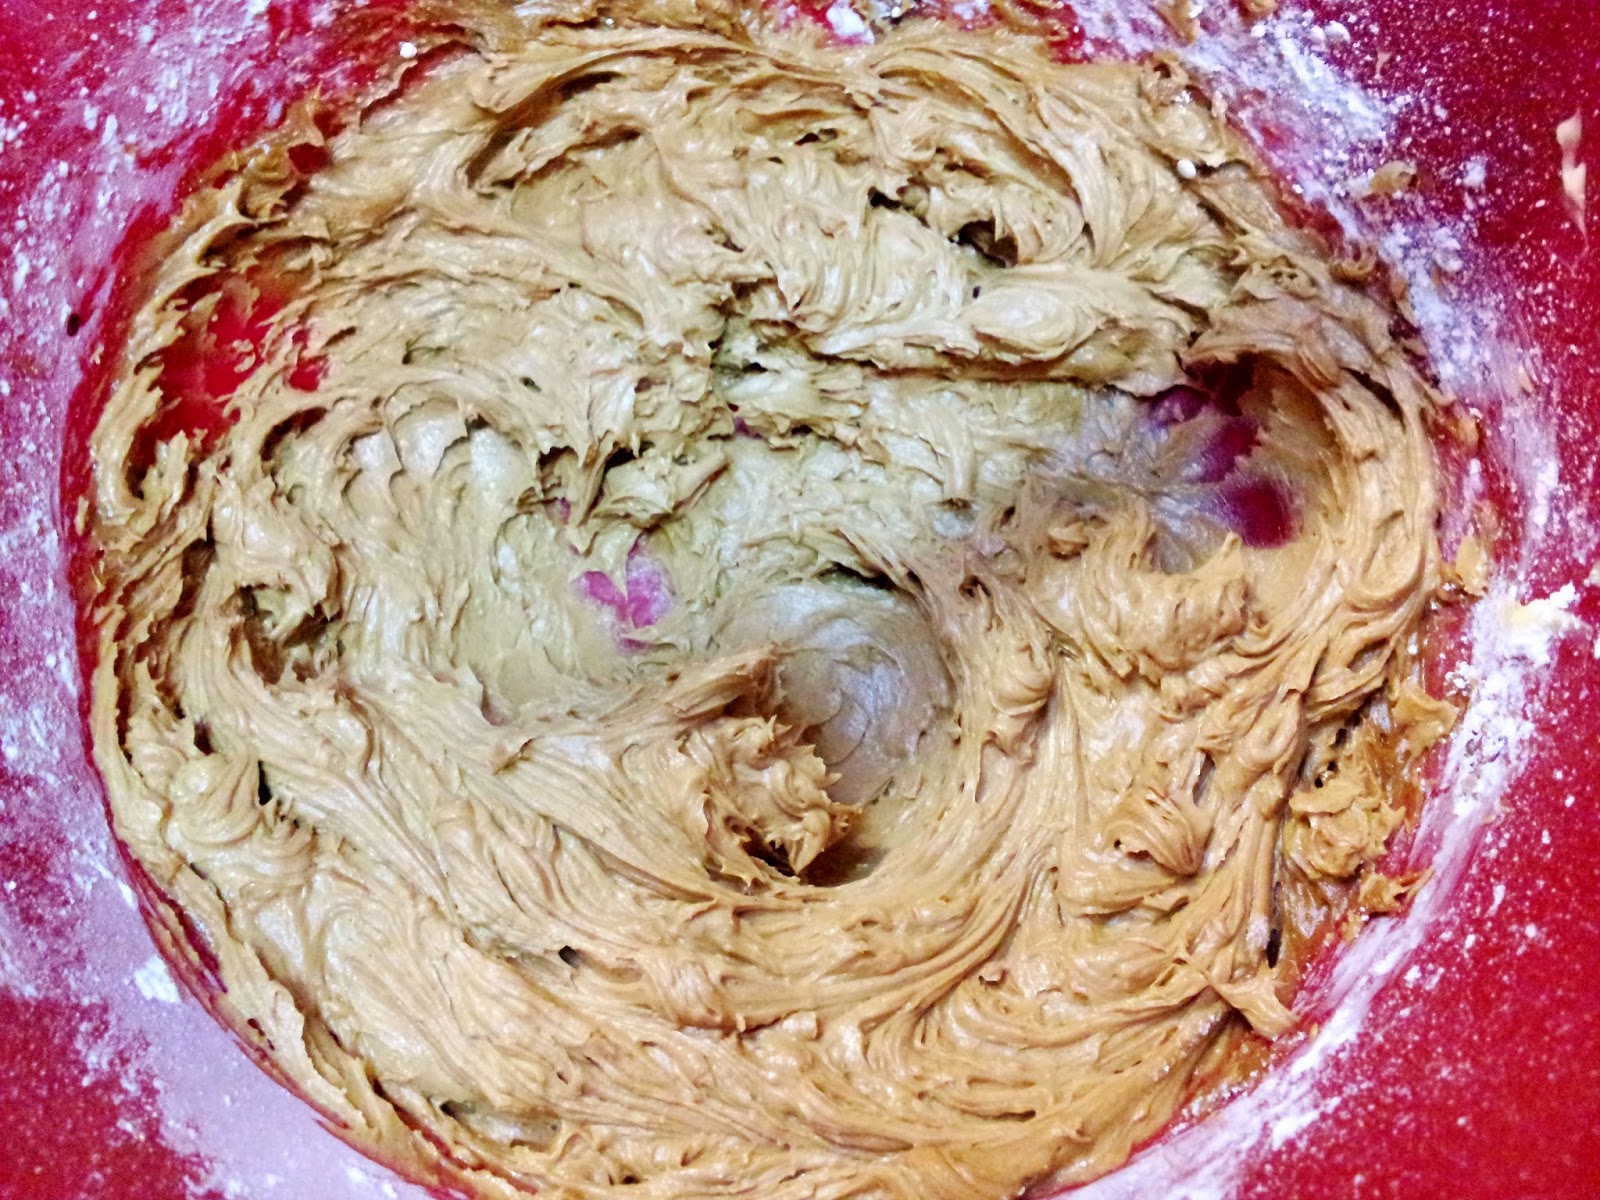
Looking good.

Looking better.
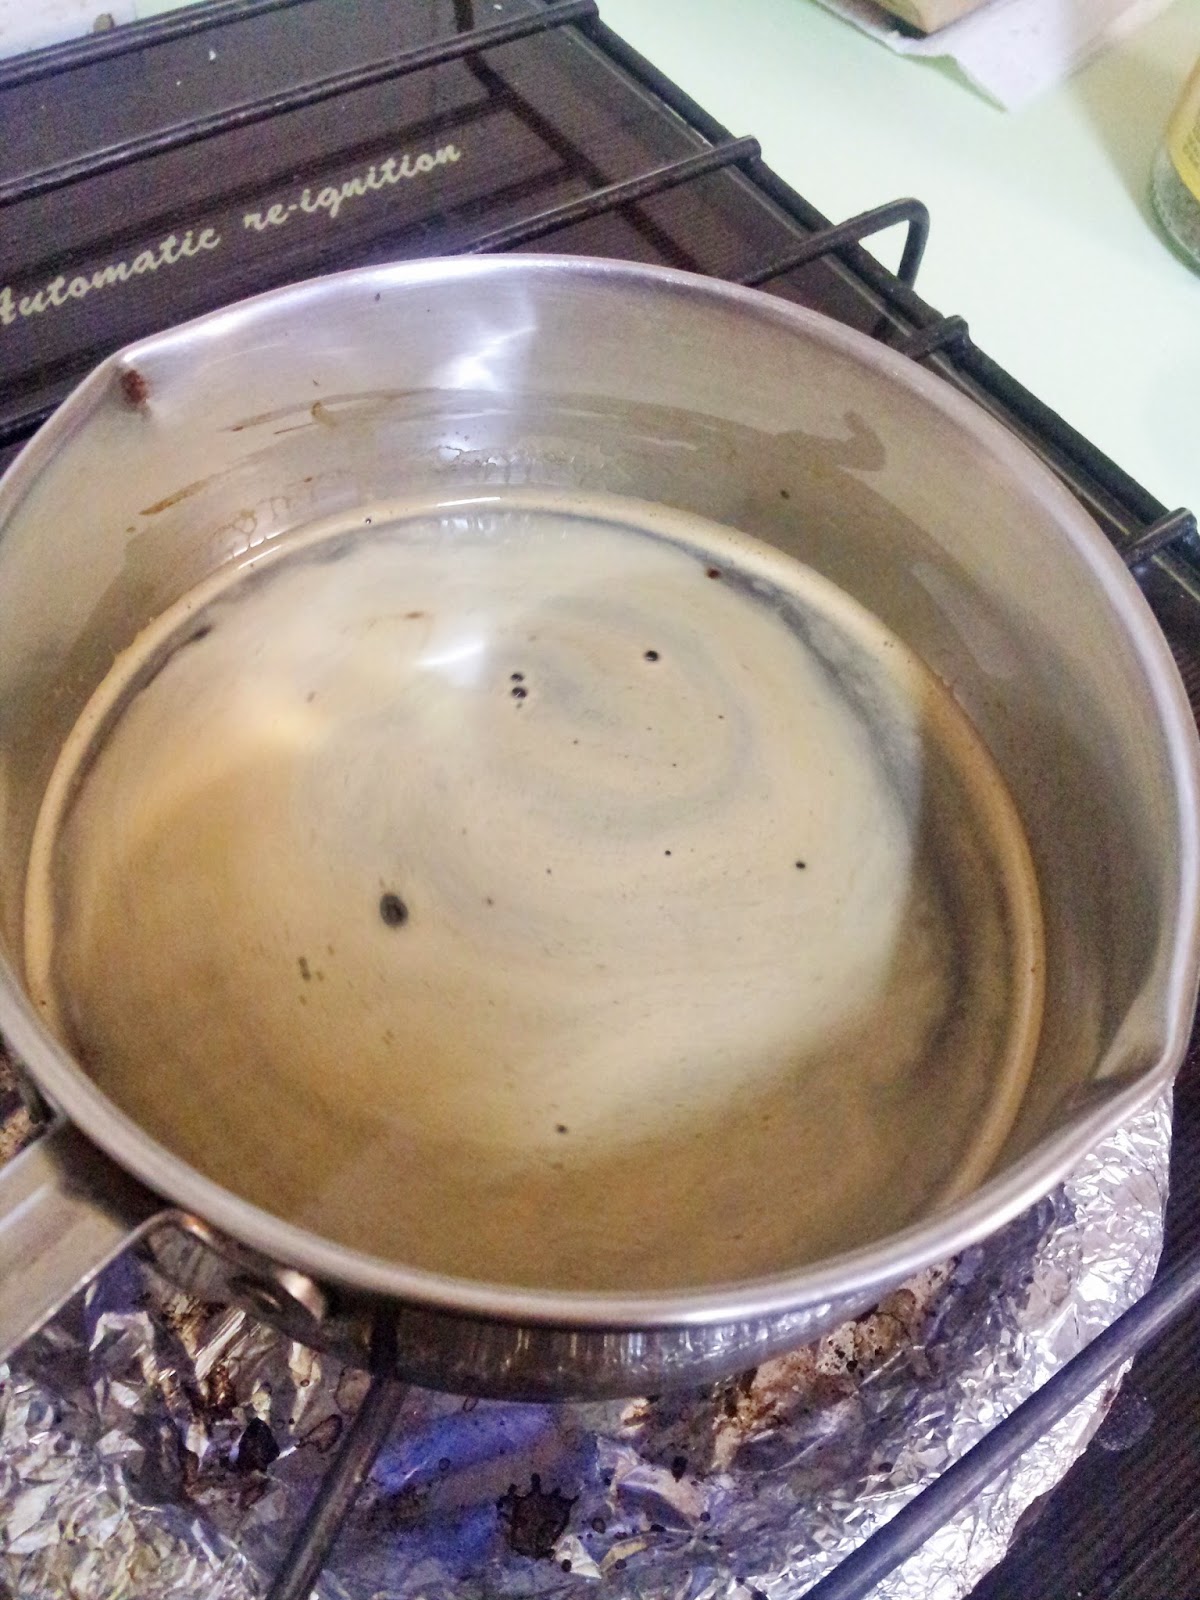
Thirdly is the coffee syrup; pretty straight forward with the same method as the matcha syrup from my matchamisu. I was a bit wary of using that much coffee, but the flavour comes through without being overpowering; and as an added benefit, when you’re boiling down the syrup, your kitchen will smell like a coffee shop. I made it up to a cup and reduced it down to half, but I found I just had enough syrup for the cake to paint it, and really, you want to drench the sponge so the whole thing’s moist and deliciously coffee-flavoured, so I’ve modified the recipe to reflect that. 

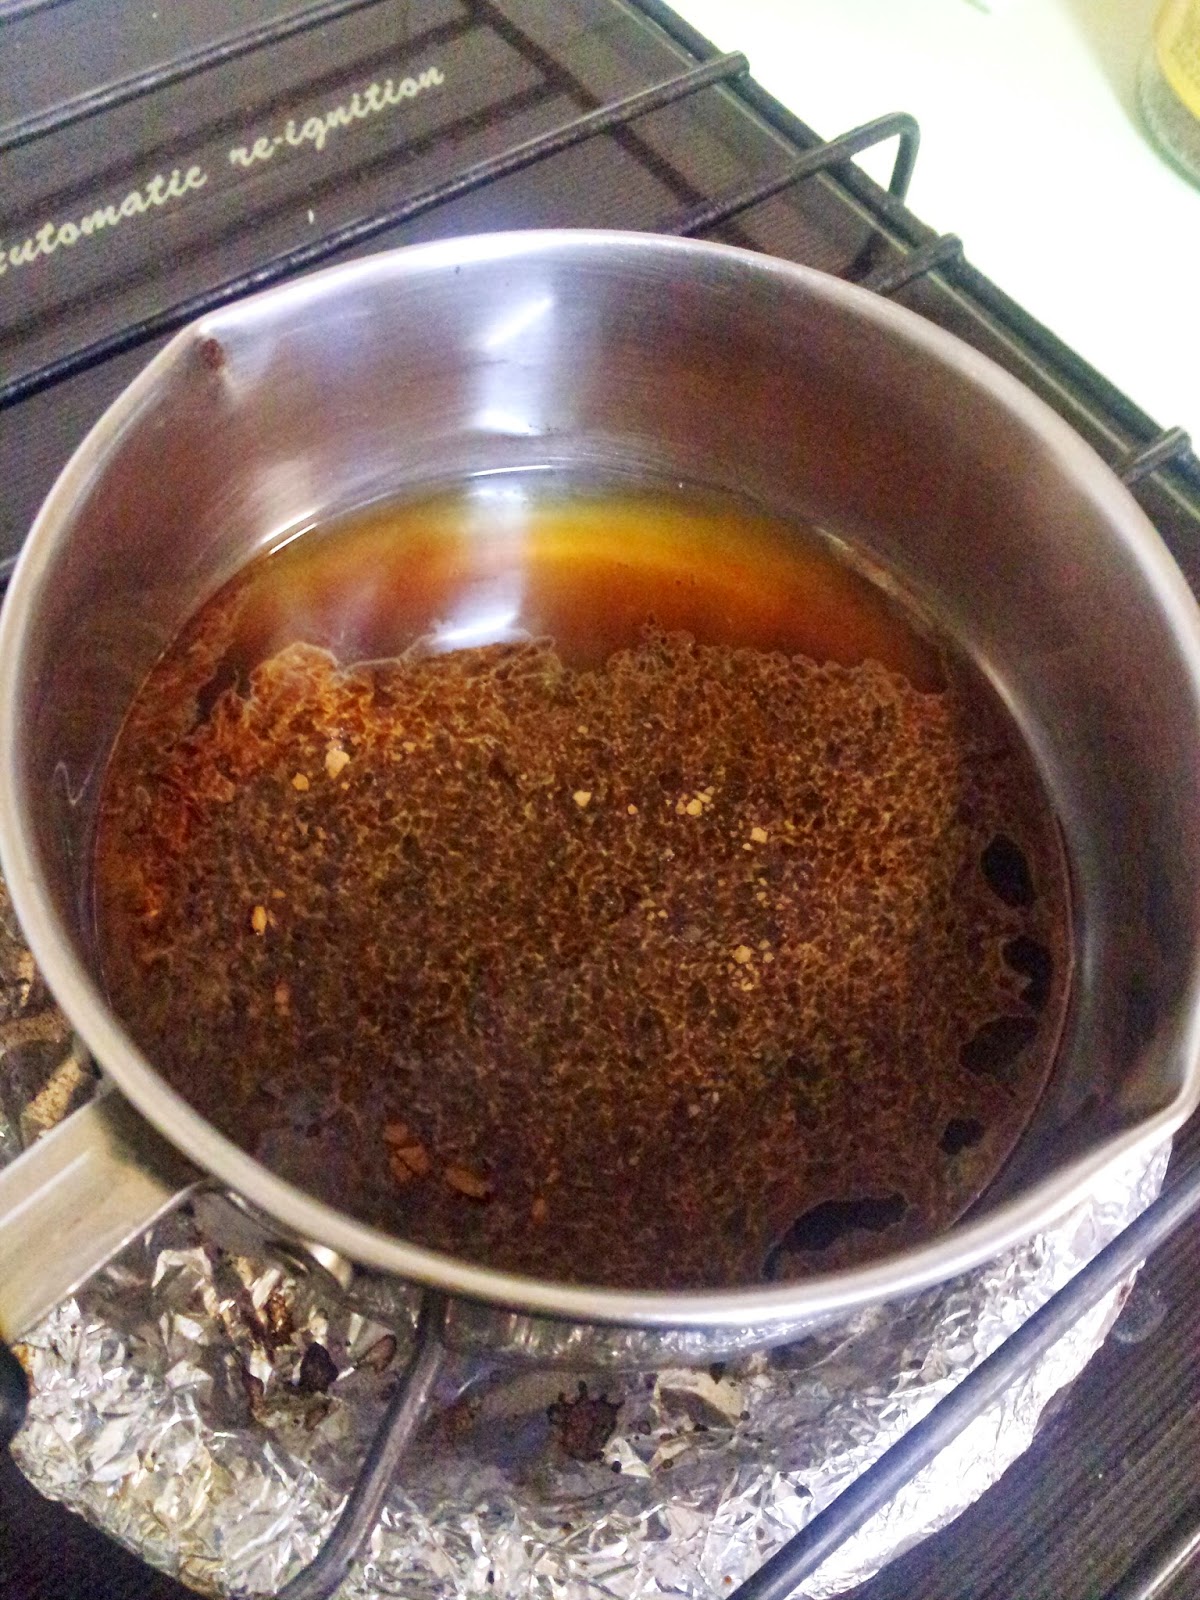
Coffee powder, sugar and water in a pan.

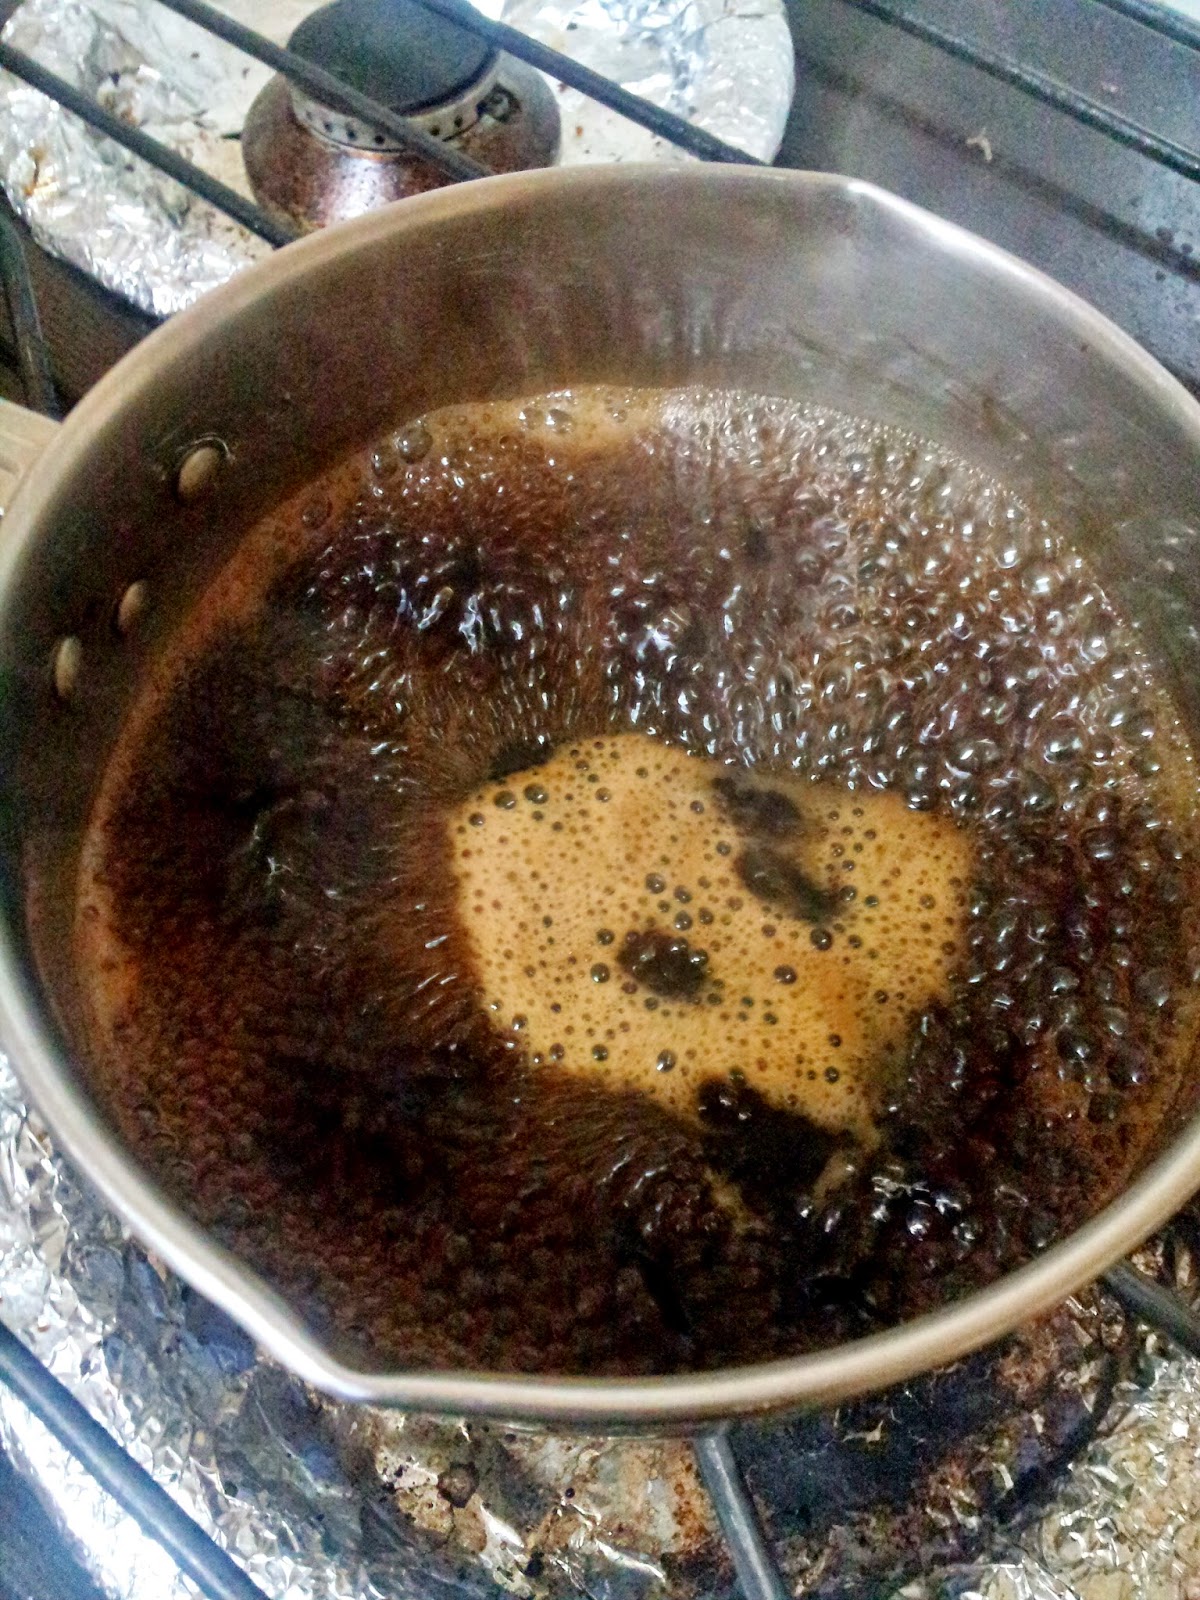
Bubble, bubble, toil and trouble, I want my coffee on the double

Add frothy milk to this and you get a latte
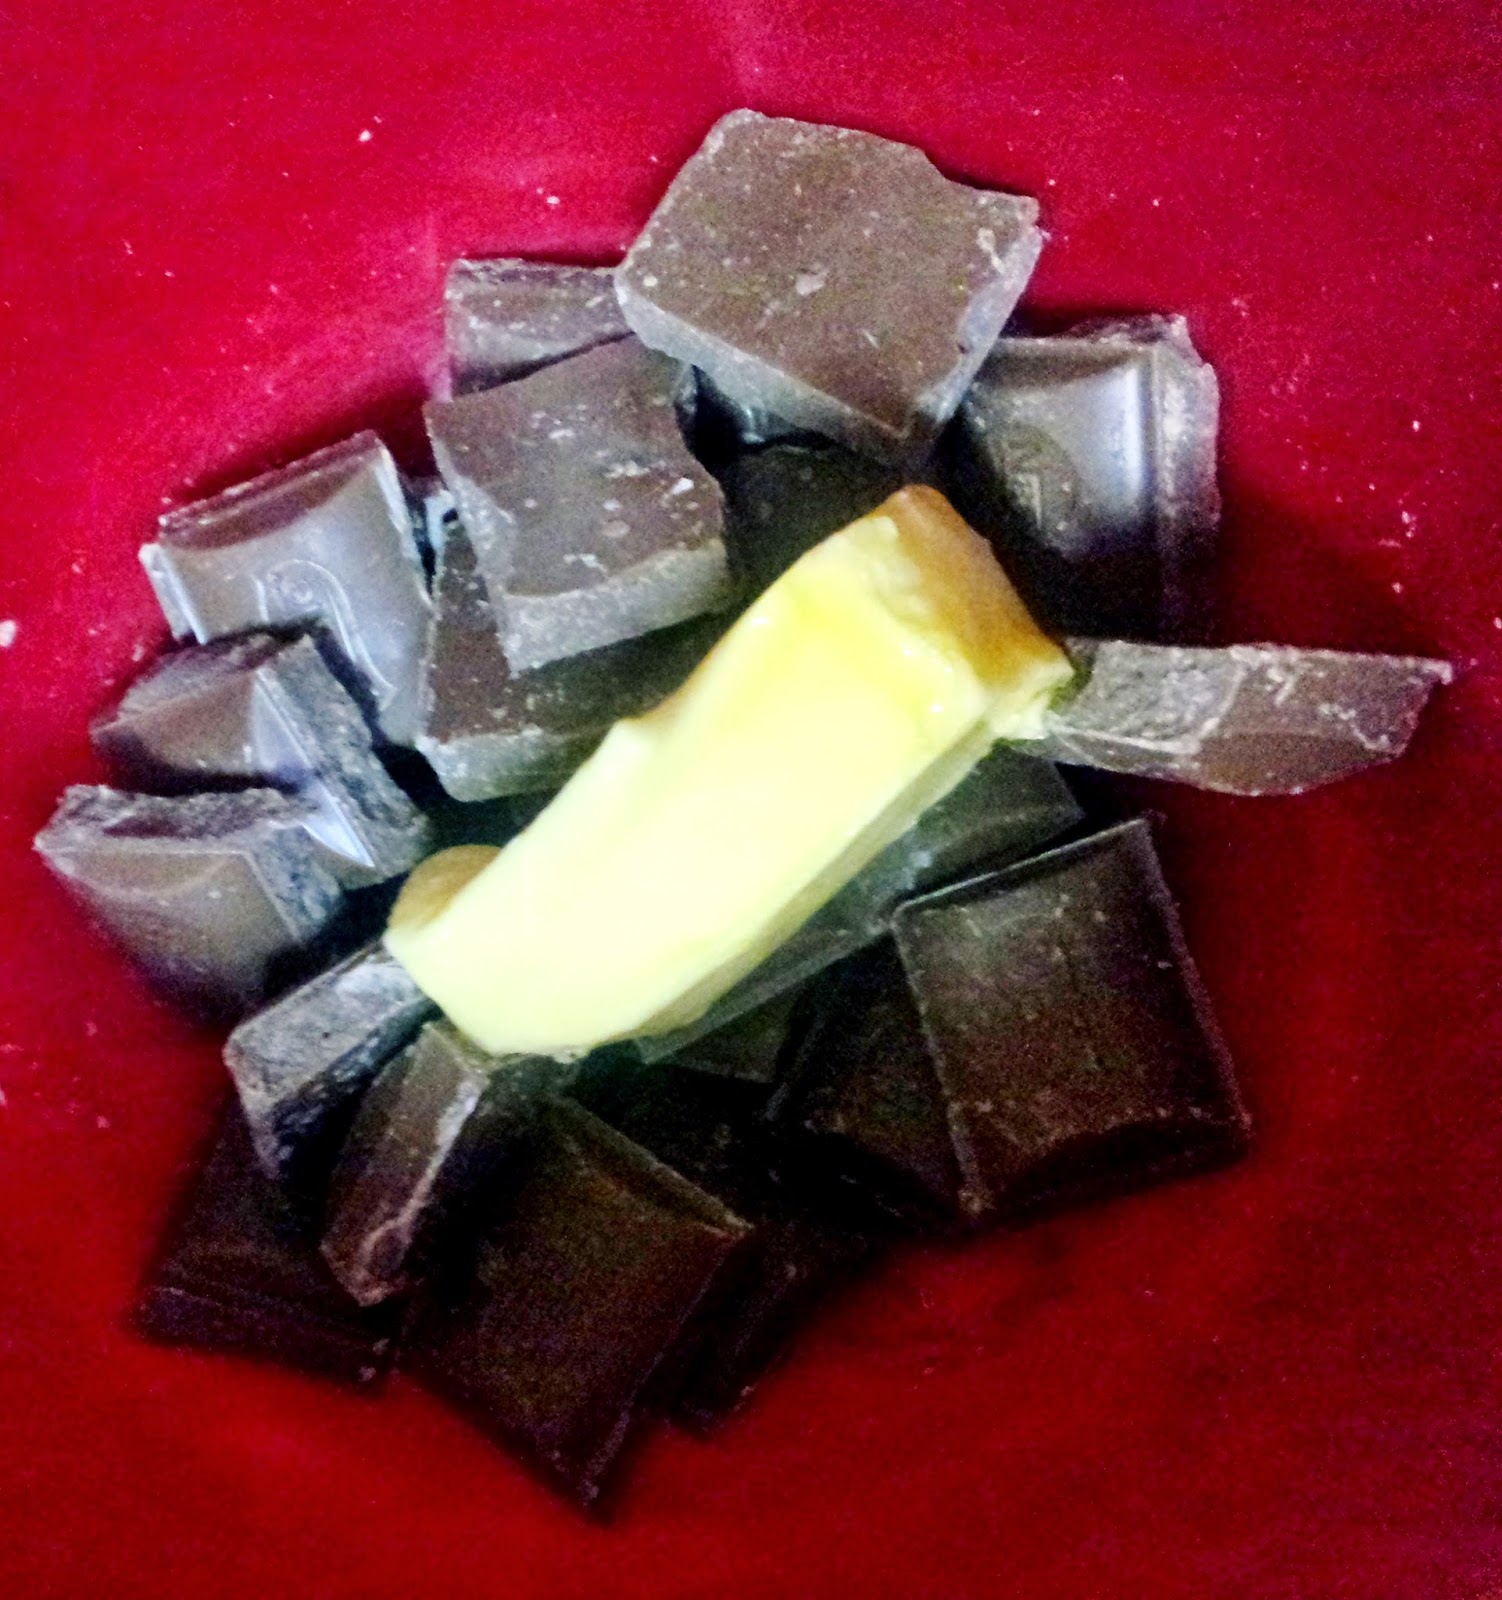
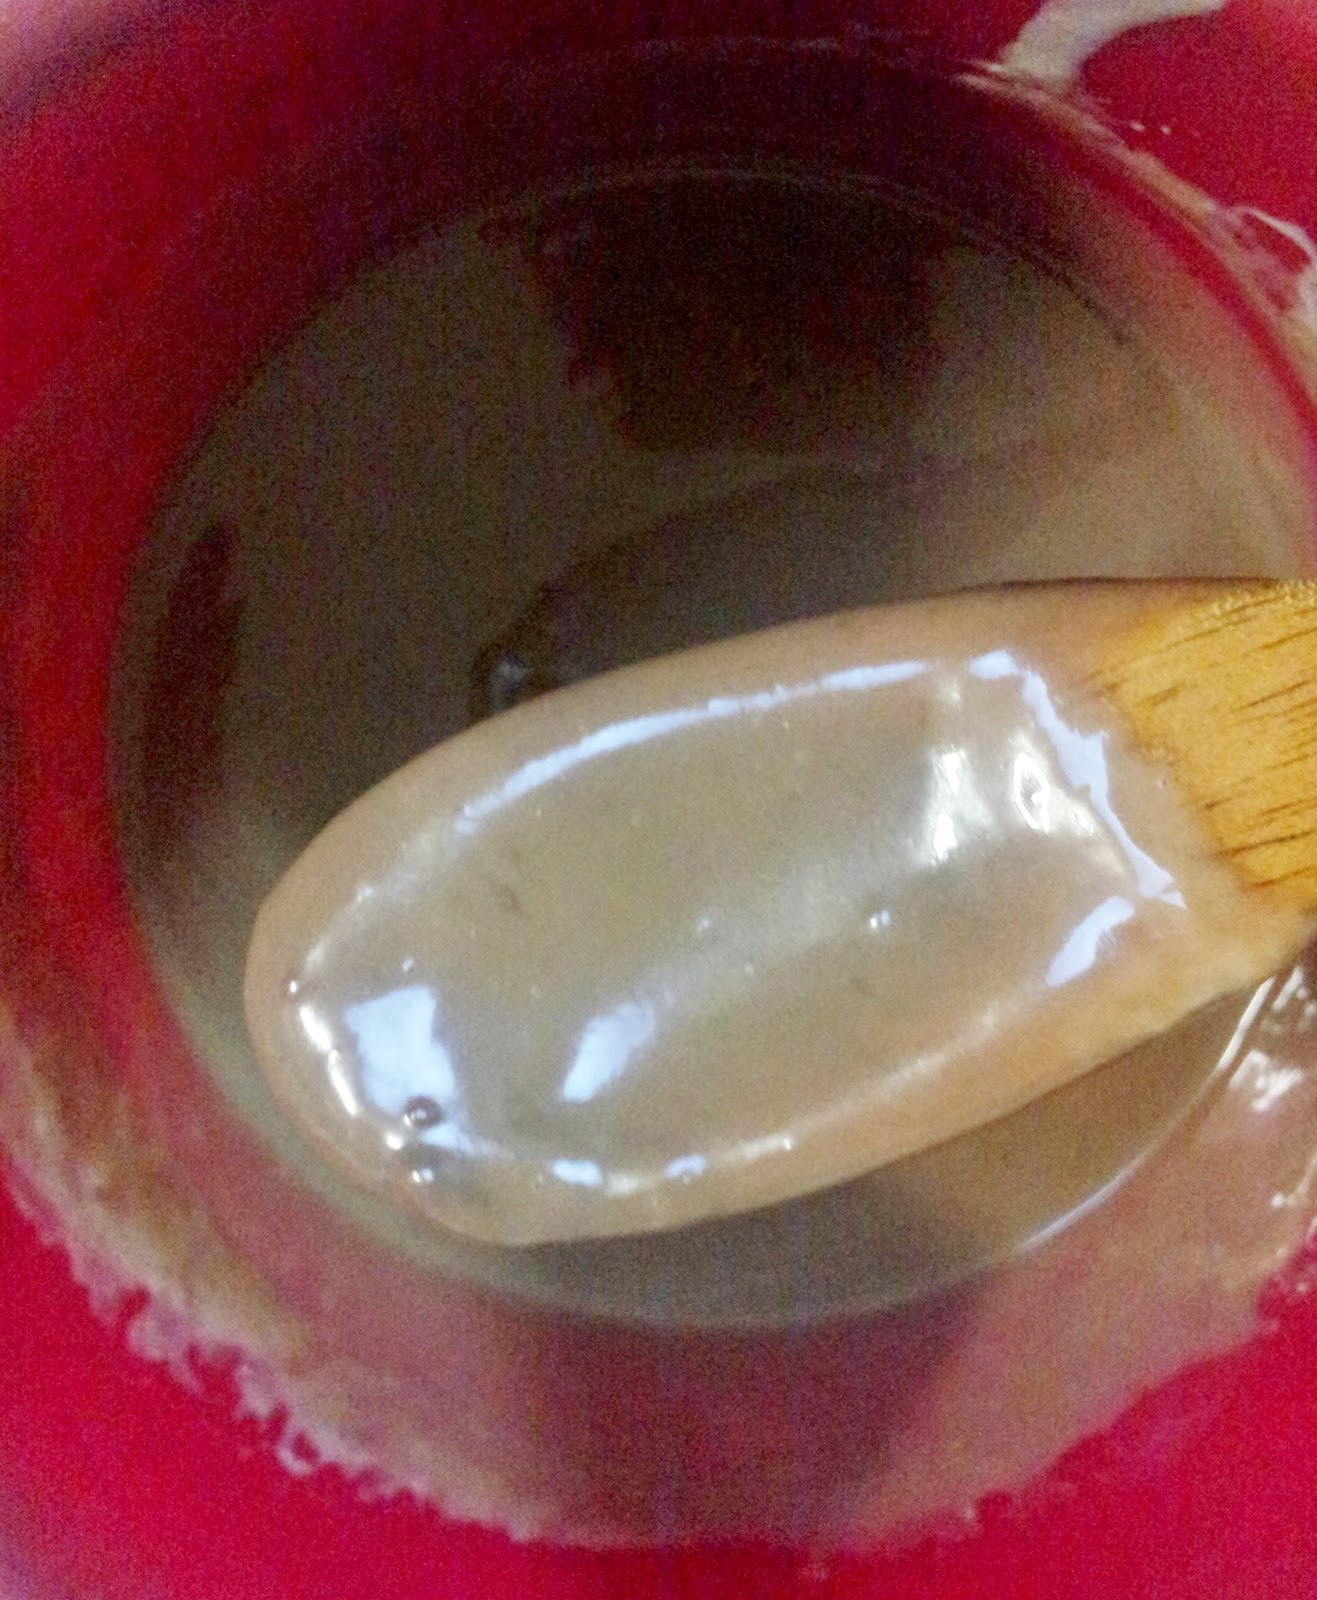
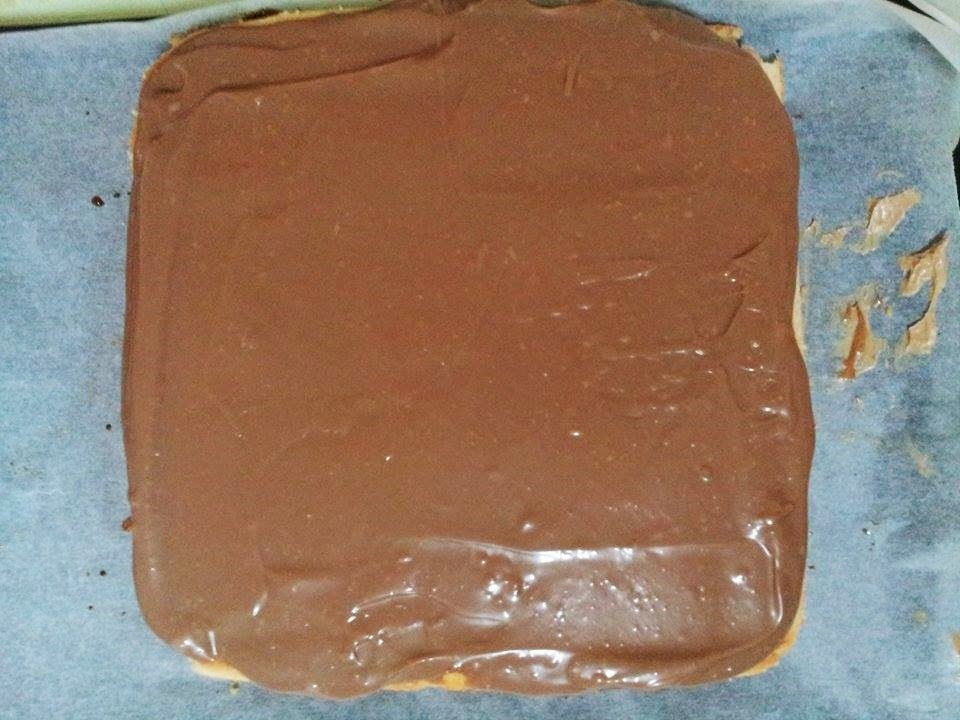
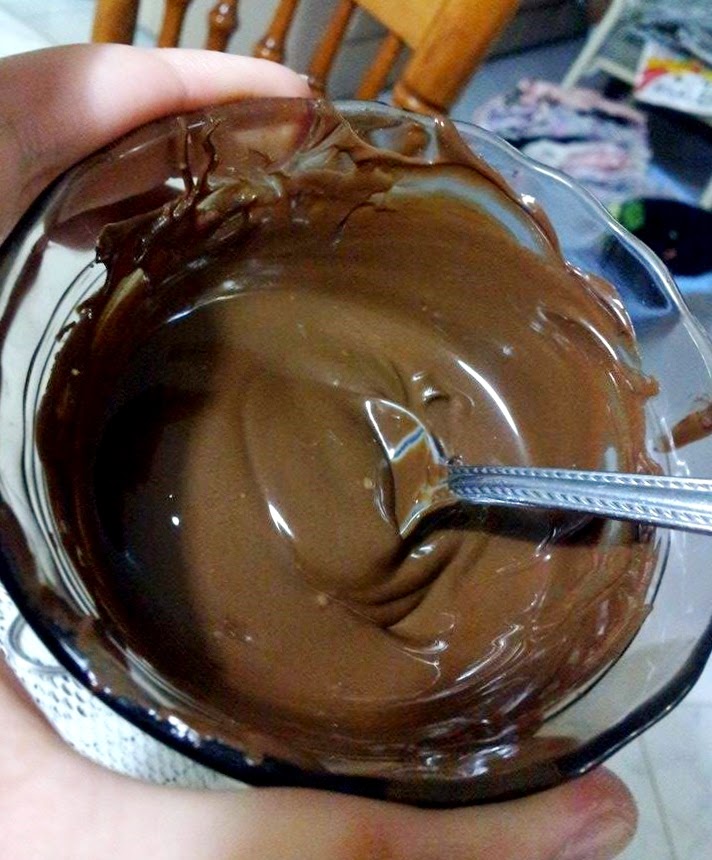
Lastly, the chocolate ganache. Keen-eyed sloths may notice the colour of the gateau being significantly lighter than dark chocolate should be, and yes you’d be right. I didn’t have adequate dark chocolate on me at the time, so I substituted milk chocolate. Equally delicious, but I think dark chocolate would make it more-ish. I did, however have enough dark chocolate to melt and cover the top of the ganache; but if you use dark chocolate straight up, feel free to skip that step. I just added that extra layer for aesthetics (curse, thy name is vanity). You could also finish it with a layer of tempered chocolate to get that gloss and crack when you cut it, but I don’t have the best track record working with chocolate so microwave melted chocolate it is. Also, don’t be worried if your ganache isn’t as smooth as it could be, hide it under a layer of dusted cocoa powder and no one’ll be any wiser (unless they go to all that trouble of unearthing the ganache layer from the powder, but that’s their own business). 

Chocolate and butter in a bowl.

Oh yeah, gimme some of that hot cream.

Doesn't look like much, but with a bit of mixing...

Shiny and smooth and lump free.

As for the actual assembly of the cake, it's fairly simple (famous last words) but a bit of care has to be taken. The sequence I followed was, from the top:
  • Melted chocolate (optional)
  • Chocolate ganache
  • Almond sponge brushed with coffee syrup
  • Chocolate ganache
  • Coffee buttercream
  • Almond sponge brushed with coffee syrup
  • Chocolate ganache
  • Coffee buttercream
  • Almond sponge brushed with coffee syrup
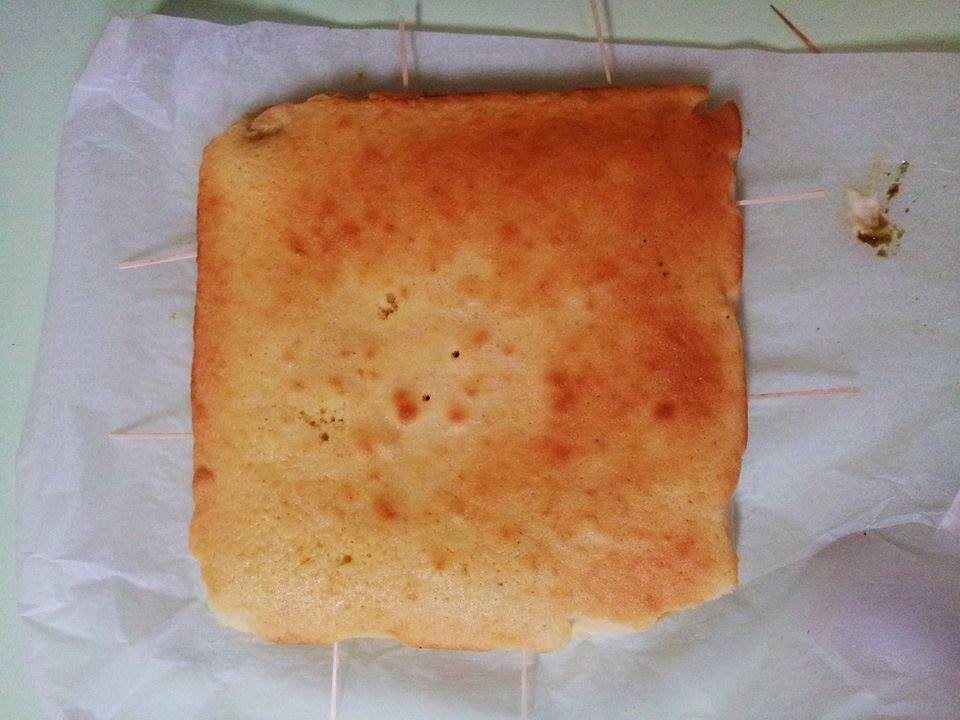
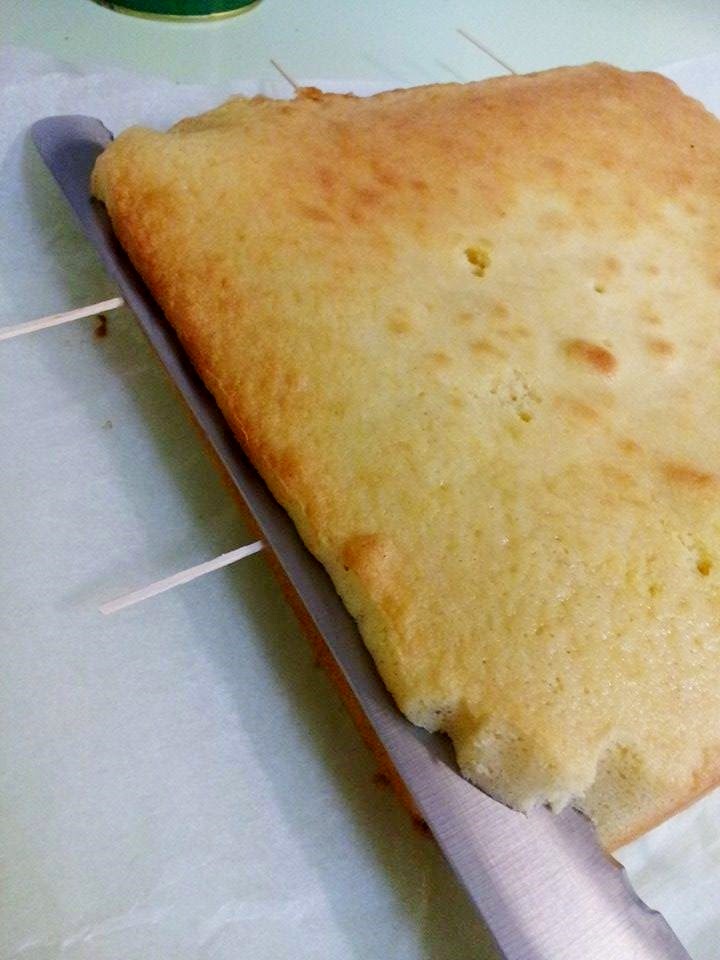
The hardest part for me was the cutting of the cake into even layers, so I used the toothpick method. Basically:
  1. Eyeball your cake or use a ruler and divide the height of your cake into thirds. 
  2. Stick toothpicks (I used two each side) into the cake where your first third measures across. 
  3. Get a long knife (I suggest a bread knife with serrations) and gently cut into the cake side, the width of the blade. 
  4. Repeat for the other sides. 
  5. Once the initial cut has been made, slowly and carefully deepen the cuts, making sure the knife stays parallel to the cutting board. Continue to gradually deepen the cuts until the knife can pass cleanly under the layer. 
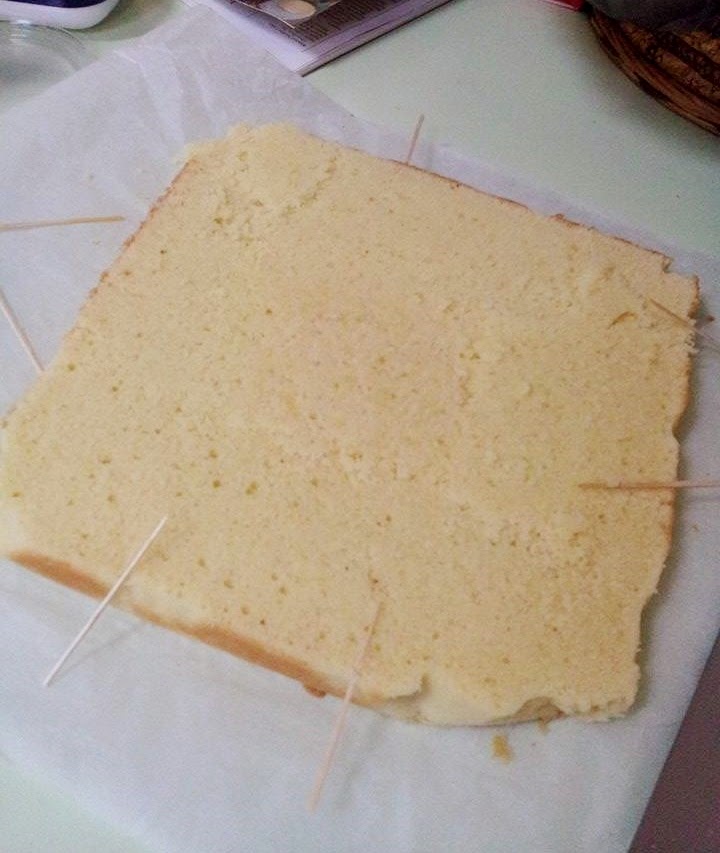
  6. Carefully remove the top layer and put onto a serving plate, cut side up. 
  7. Repeat for the second layer. 

Toothpicks into the side of the cake.

Gently cut into the cake the width of the knife blade
Toothpicks are left behind, ready to be re-used.
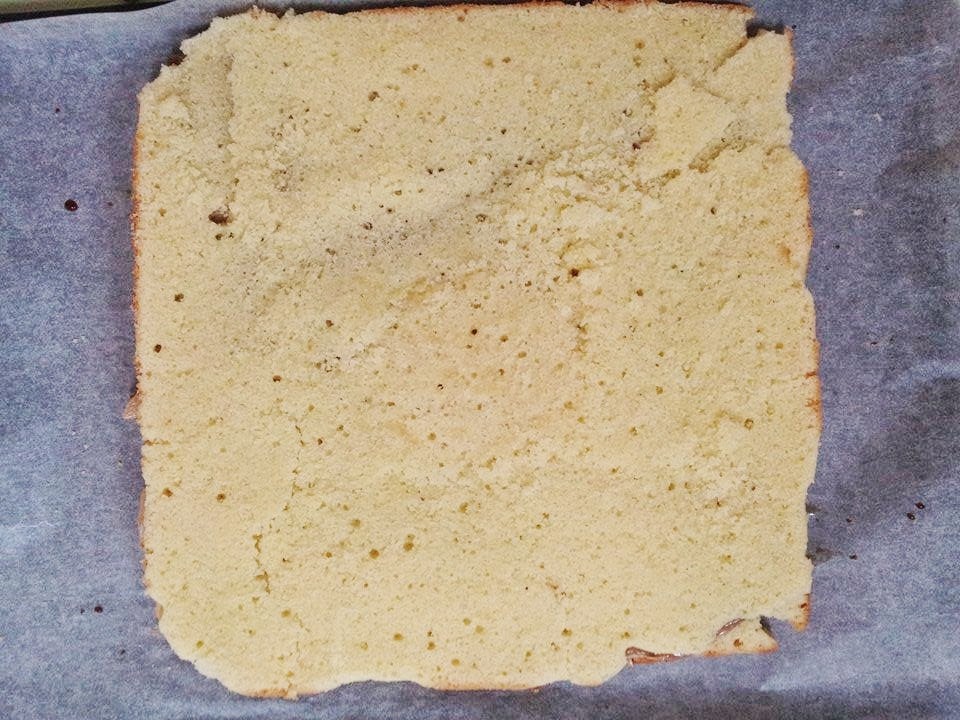
Ta-dah, a pretty even layer!
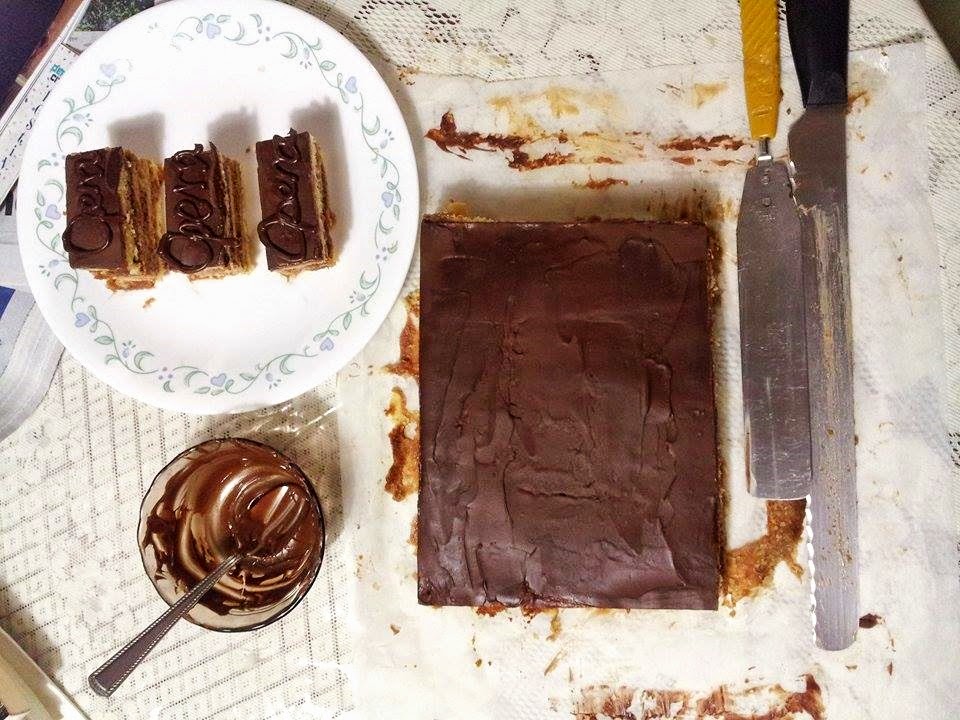
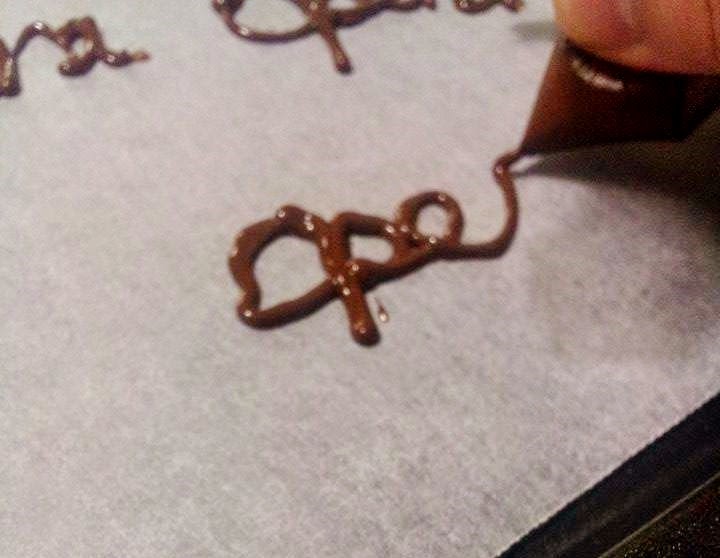
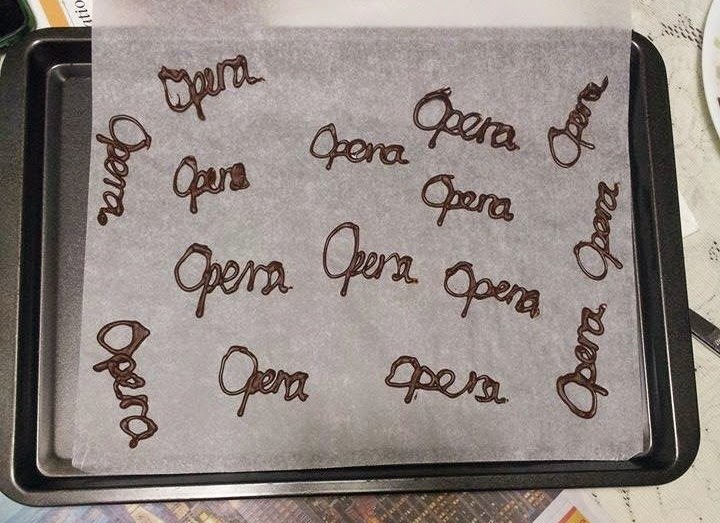
With the spreading of the ganache and butter cream, try to create a flat surface so when you cut the cake, the layers will appear even and level (and everyone will go 'ooooh' and if they don't, they don't deserve any cake). Spread the fillings to the edges of the sponge, and for the final layer of ganache, use a palette knife (or long flat kitchen implement that you have lying around) to push the ganache over the sides to get an even covering. Don't worry too much about keeping it neat because you can just trim the edges to make them even (and then eat the trimmings, so win-win for you). To finish, this cake is traditionally adorned with the word 'opera' and garnished with edible gold leaf. However, as a poor university student, my budget doesn't extend as far as edible gold leaf, let alone non-edible gold; so I settled with piping 'opera' on a separate tray lined with baking paper and refrigerating it until it was set enough to remove and transfer. 

Time to practice my artistic skills. Spread the syrup on with a pastry brush.

Coffee buttercream on top of the coffee syrup brushed sponge

Chocolate ganache on top, and repeat for the second layer of cake

Final layer of ganache, so smooth and shiny

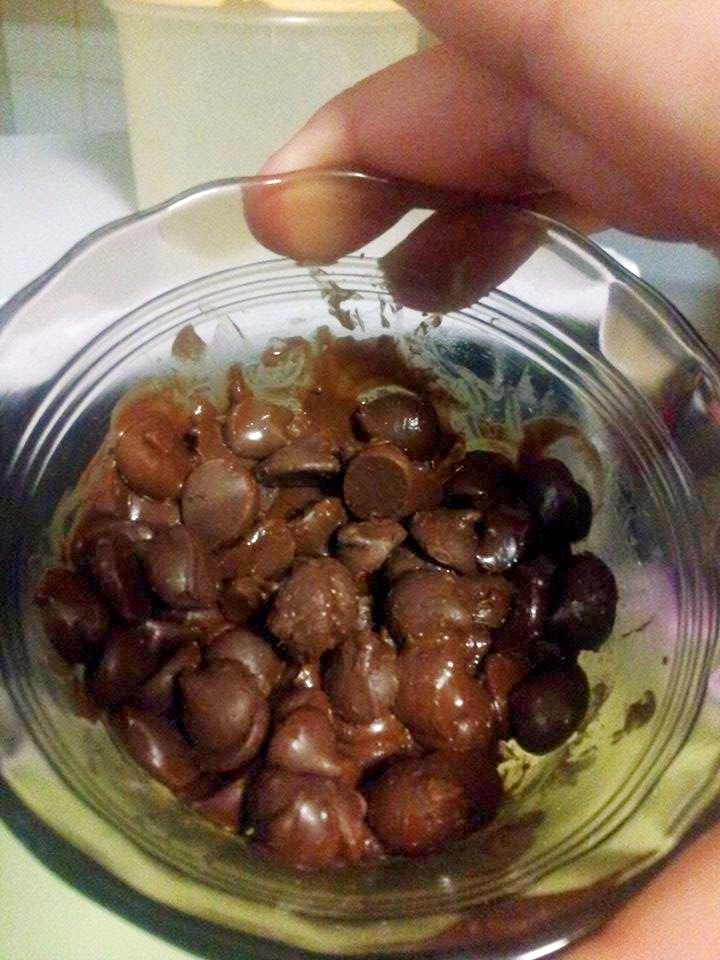
Dark chocolate chips microwaved for 30 seconds

A further 30-40 seconds and it's good to go

No pastry bag? Use a freezer bag, push all of the contents into one corner like you would squeeze toothpaste out of a tube, then snip a tiny bit of the corner off. Snip less for a smaller hole, more for a bigger hole. Wind the unused bag around your finger until enough pressure's built up in the bag and the contents are coming out. Gently apply pressure with your thumb to squeeze the contents out. Practice on some paper before doing it on the real thing. Takes a bit of getting used to, but once you've got it, it's a walk in the park!
I don't know how I ever got my pen license, my cursive's
 horrible and I'm pretty sure one of them says 'opona'

But dang, it looks good on a cake. 
Related Posts Plugin for WordPress, Blogger...